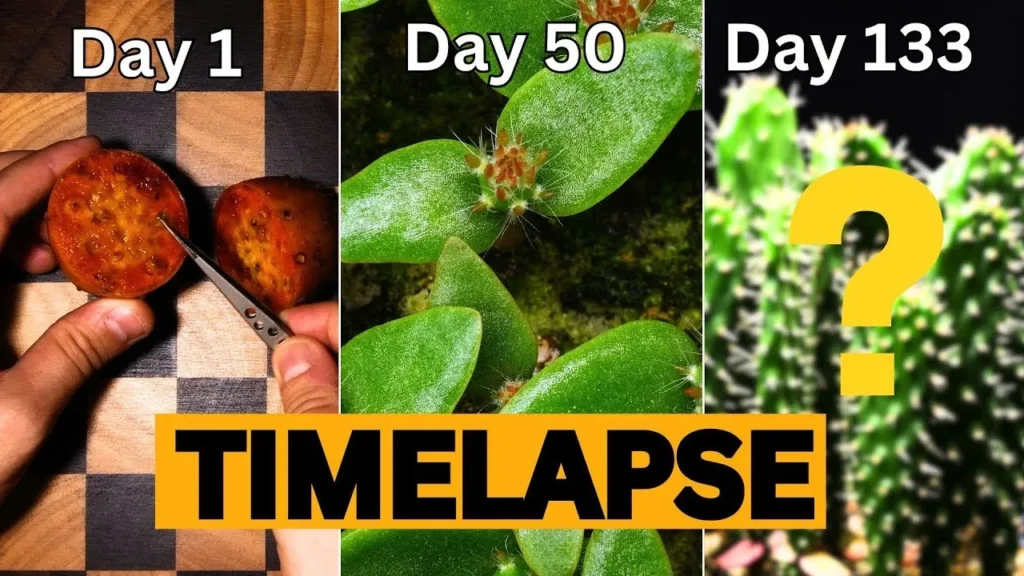
Ever wanted to grow your own cactus from scratch and actually watch it come to life? In this guide I’ll show you how to grow a prickly pear cactus from seed and share a prickly pear cactus timelapse that compresses months of growth into a few seconds. Whether you’re a gardening beginner, cactus nerd, or just love oddly satisfying plant videos, this one’s for you. 🌵
TL;DR – Growing a Prickly Pear Cactus from Seed
- Prickly pear (Opuntia) is tough, drought-loving and low-maintenance – great from seed if you’re patient.
- Use a gritty, fast-draining cactus mix; surface-sow and barely cover the seeds.
- Keep warm (20–30°C), bright and only lightly moist for germination – it can take weeks.
- Water only when the soil is fully dry; overwatering is the number one killer.
- Give it lots of direct sun; eventually you may get flowers and edible fruit.
- I filmed the grow as a 133-day timelapse (below).
Meet the Prickly Pear Cactus (Opuntia)
The prickly pear cactus, also known as Opuntia, is a tough desert plant that thrives where many others give up. It stores water in its fleshy pads, tolerates intense sun, and still produces beautiful flowers and edible fruits in the right conditions. Growing it from seed lets you experience the full journey: from a tiny speck in the soil to a spiky seedling and finally a recognizable cactus with pads and spines.
The best part? With a bit of patience and the right setup, you can grow prickly pear cactus at home – on a sunny windowsill, balcony, or in the garden. Let’s turn the timelapse into a practical DIY tutorial.
How to Grow a Prickly Pear Cactus from Seed, Step by Step
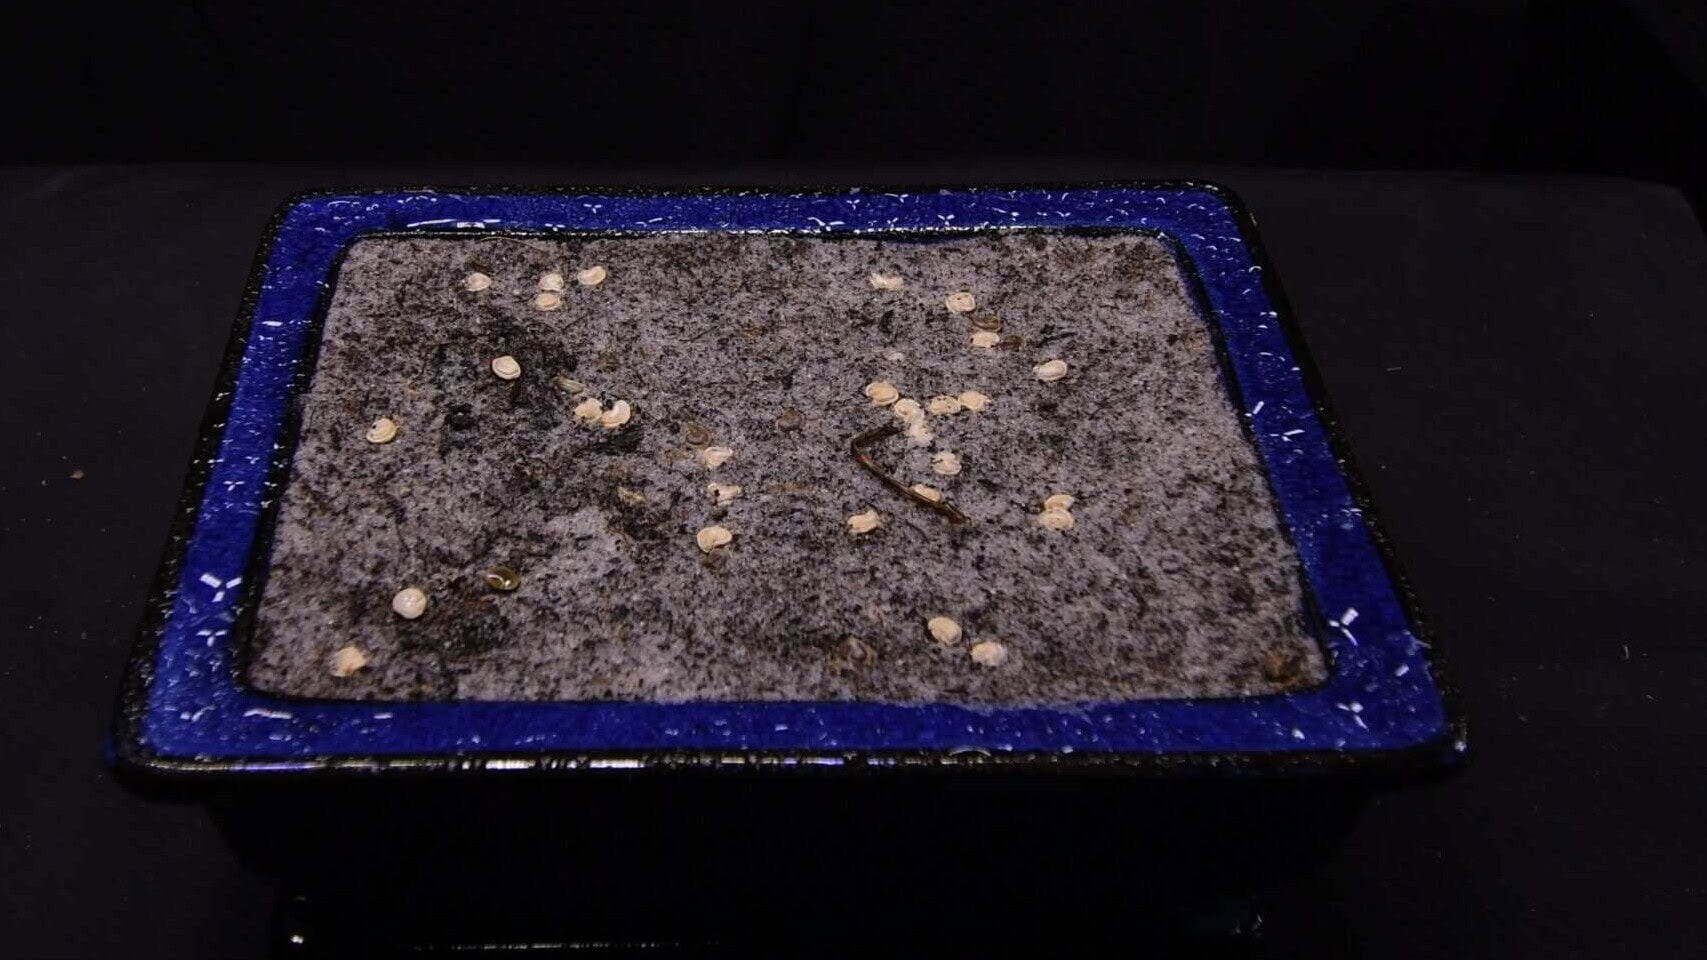
Above you can see the prickly pear seeds spread on a light, sandy substrate. This kind of mix is perfect because it drains quickly and doesn’t stay wet for long – exactly what cactus seeds prefer.
1. Prepare the right substrate
Good substrate is the foundation of a healthy cactus. Prickly pear needs a well-draining, gritty soil mix that never stays soggy.
- Cactus mix: use a ready-made cactus or succulent mix as a base.
- DIY mix: combine potting soil with coarse sand and/or perlite (roughly 50% soil, 25% sand, 25% perlite) for drainage.
- Avoid heavy soil: dense, water-retaining soil causes root rot – basically cactus nightmare mode.
2. Sow the seeds
Once your substrate is ready, sow the seeds. Simple, but a bit of care helps.
- Fill the pot: use a shallow pot or tray with drainage holes and fill it with cactus mix.
- Place the seeds: scatter the seeds on top and gently press them into the surface for good contact.
- Light cover: add a very thin layer of sand or fine substrate – just enough to hold them, not bury them.
- First watering: mist the surface with a spray bottle rather than pouring, so you don’t wash the seeds away.
3. Germination: warmth, patience & light
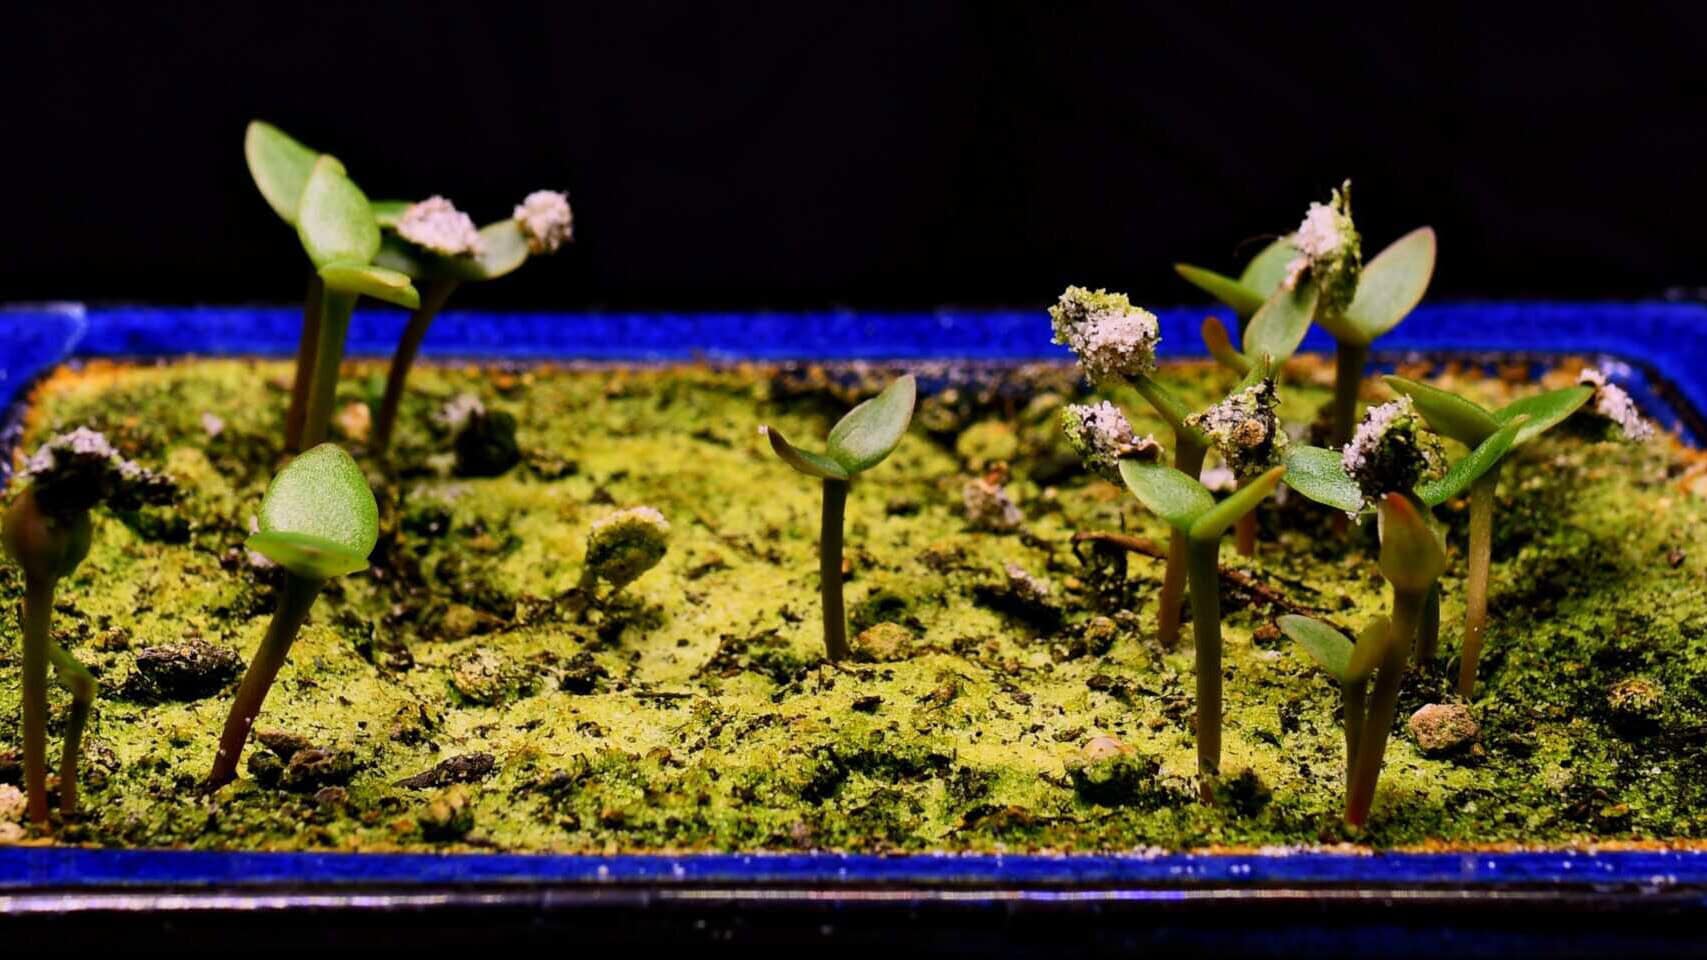
Here are the first germinated prickly pear seedlings poking through the sand – tiny green dots that will eventually become full pads. This is the most exciting moment in the whole process.
Now create conditions that feel like a warm desert after a rare rain:
- Temperature: aim for 20–30°C (68–86°F). A warm windowsill or heated propagator is great.
- Moisture: keep the top layer slightly moist during germination, never soaked. Let it dry a bit between light mistings.
- Light: bright, indirect light at first; increase intensity gradually once seedlings are established.
Germination can take several weeks, so don’t give up early. In the timelapse this slow process is compressed into seconds – in real life it just needs patience.
4. Growing on: seedlings to mini pads
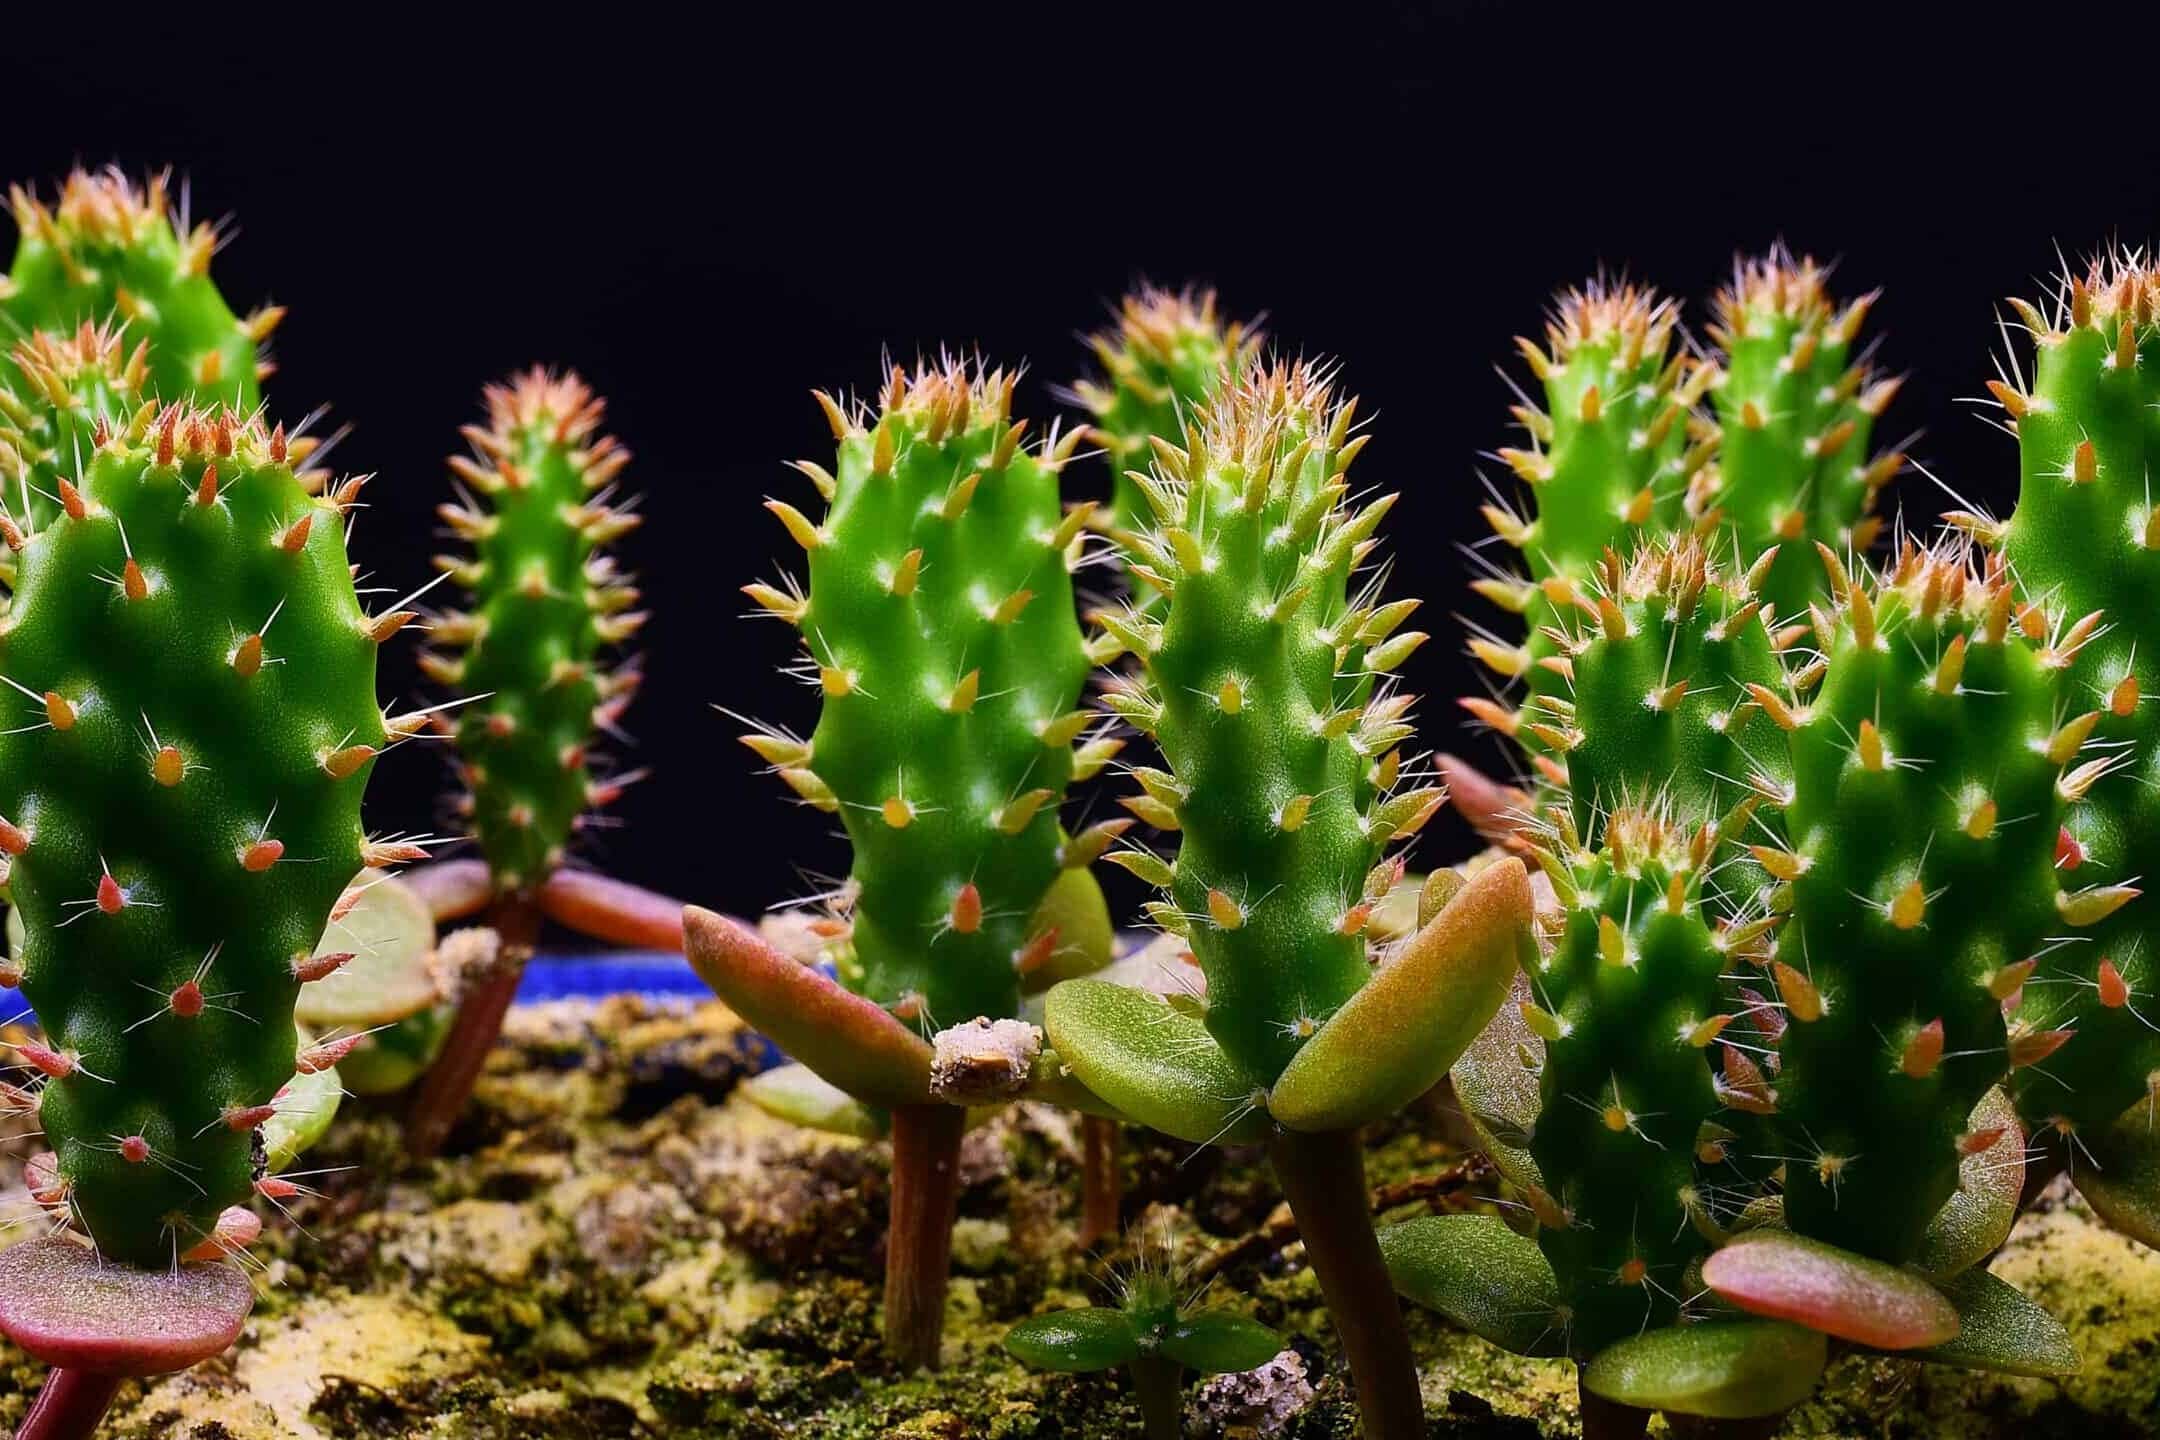
Here the tiny seedlings have grown into a young prickly pear cactus with recognizable pads and small spines. The structure of a real cactus is finally visible – this is when it starts to look seriously cool.
When the seedlings are big enough to handle, carefully separate them into individual pots using the same gritty cactus mix, gently teasing the roots apart. From here, it’s all about the classic cactus conditions.
Key Growing Conditions for a Healthy Prickly Pear Cactus
The main care factors are substrate, temperature, watering and light. Get these right and your prickly pear will be almost impossible to kill.
- Substrate: a cactus mix (or DIY soil + sand + perlite). The goal is excellent drainage – if the soil stays wet for days, it’s too heavy.
- Temperature: prickly pear loves warmth, ideally 20–30°C (68–86°F). Indoors, a warm, bright room is perfect.
- Watering: water only when the soil is completely dry – often every 1–3 weeks, depending on pot, mix and temperature. Overwatering is the number one cactus killer.
- Light: lots of direct sunlight. Outdoors, at least 6 hours a day; indoors, the brightest window you have (south-facing is ideal).
Keep up this routine and your prickly pear will slowly build new pads and, eventually, might even reward you with edible prickly pear fruits.
Why Cactus Timelapse Videos Are So Addictive
Timelapse turns slow, almost invisible growth into something dynamic. Instead of waiting months to notice changes, you watch your cactus stretch, expand and lean towards the light in a few seconds. Pads swell, spines appear, and the plant slowly builds its iconic shape.
In this prickly pear cactus timelapse you can see how the pads react to light, how the plant grows up and out, and how much happens when we’re not looking. It’s also a great way to spot setup mistakes: too little light, odd growth direction, or overwatering become obvious when you replay weeks of growth in one video.
Start Your Own Prickly Pear Cactus Project
If you want a plant that’s beautiful, tough and low-maintenance, prickly pear is a perfect choice. It doesn’t need daily attention, survives missed waterings, and looks awesome on camera. Growing it from seed adds an extra layer of satisfaction – you get to say, “I grew this from almost nothing.”
You can even combine gardening and content creation by filming your own cactus timelapse. For the exact gear I use, see my Plant Time-Lapse Equipment Guide. So grab some seeds, mix up a gritty substrate, and claim a sunny spot – with a bit of patience, your tiny seeds will turn into a spiky, photogenic cactus sooner than you think. 🌵🌞
Frequently asked questions
It is slow. Germination can take several weeks, and it is months before it looks like a recognizable cactus (years for a large plant with fruit). My timelapse covers 133 days of growth.
They are famously slow and a bit erratic. Warmth (20 to 30 C), a gritty surface-sown mix, good light and patience are the main things. The hard seeds can also benefit from a soak in water before sowing.
Only when the soil is completely dry, which is often every 1 to 3 weeks during active growth and much less in winter. Overwatering and heavy soil cause root rot, the number one killer.
Yes. Both the fruit (called tuna) and the young pads (nopales) are edible once the spines and tiny glochids are removed. Handle with care, because the glochids are small barbed hairs that irritate skin.
Further Reading on Prickly Pear Cactus
- Prickly Pear (Opuntia) – University of Florida (UF/IFAS) Gardening Solutions
- How to Grow Prickly Pear Cactus – BBC Gardeners’ World
More Plant Projects You Might Like
- Grow a Dragon Fruit Cactus from Seed – another cactus grown from seed on camera.
- Avocado Bonsai from Seed – a one-year timelapse of a supermarket seed turned tiny tree.