TL;DR (Quick Summary)
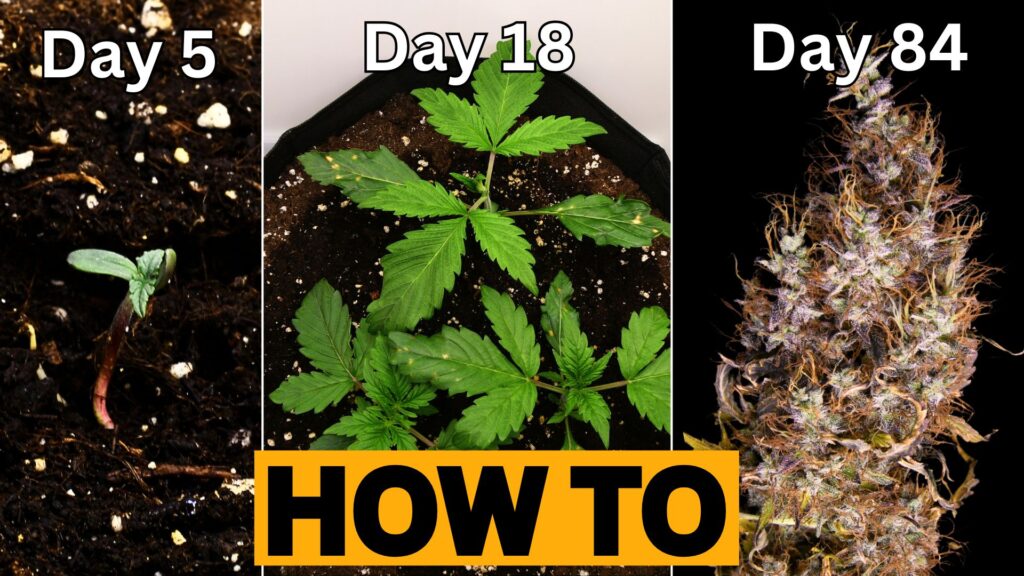
- This guide shows you how to grow autoflower cannabis from seed to harvest, based on my own grow.
- Covers germination, soil mix, light schedule, temperature & humidity, watering, nutrients and training (LST & lollipopping).
- Autoflowers are fast (around 70–80 days), compact and great for beginners – but they don’t like heavy feeding or bad watering habits.
- You’ll also find tips for drying & curing and a list of common problems and how to fix them.
- Important: only grow cannabis where it is legal in your country or region. This guide is for educational purposes.
How to Grow Autoflower Cannabis – My Experience & Best Tips
Growing autoflower cannabis can be surprisingly straightforward – as long as you give the plants the right basic conditions. Autoflowers are fast-growing, resilient and ideal for beginners and experienced growers who want quick, compact plants.
In this guide I’ll walk you through my autoflower grow from seed to harvest: how I germinated the seeds, what soil and nutrients I used, how I set up lights and climate, and which training techniques helped me get decent yields without stressing the plants.
Note: this article is not legal advice. Always check the laws in your country / state before you grow anything.
Germinating Autoflower Seeds & First Weeks
Like every cannabis grow, it all starts with good genetics and a clean germination setup. I germinate my autoflower seeds the classic way: either in a moist paper towel or directly in a small starter pot – the key elements are moisture, warmth, darkness and patience.
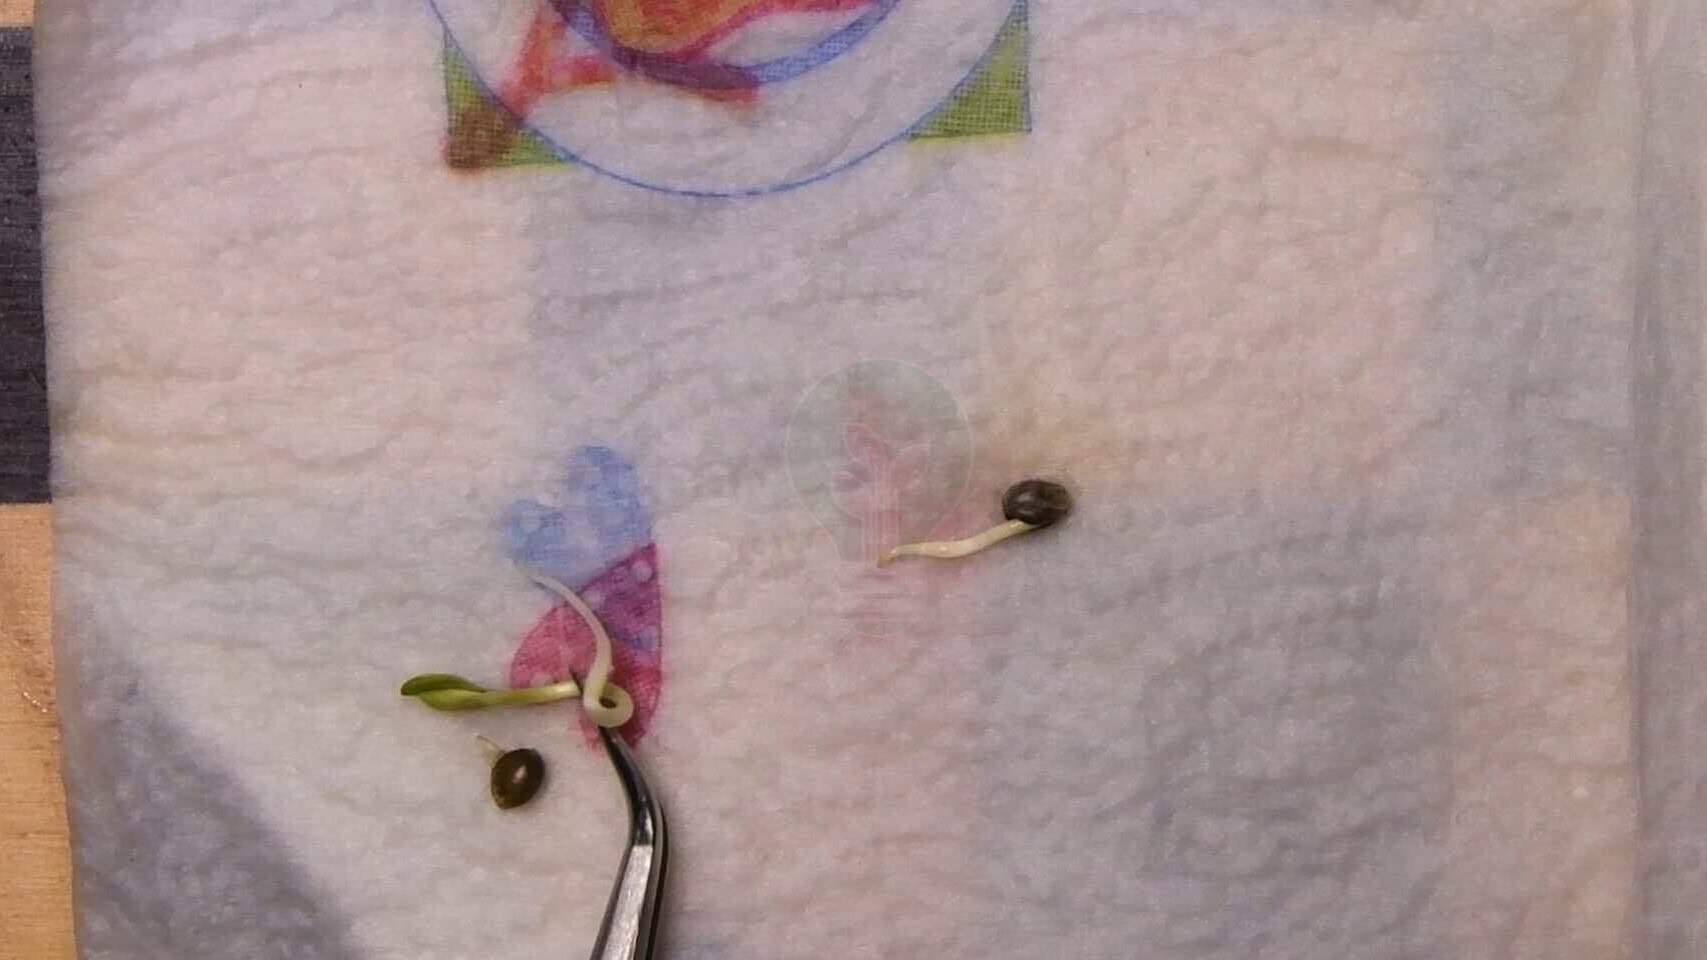
Above you can see my germinated autoflower seeds with small white taproots. Once the root is about 0.5–1 cm long, I carefully place the seed into the soil, taproot down.
I usually put autoflowers straight into their final pot so they don’t get stressed by transplanting later – autos have a short life cycle and don’t really have time to recover from big mistakes.
After a few weeks, the young plants look like this:
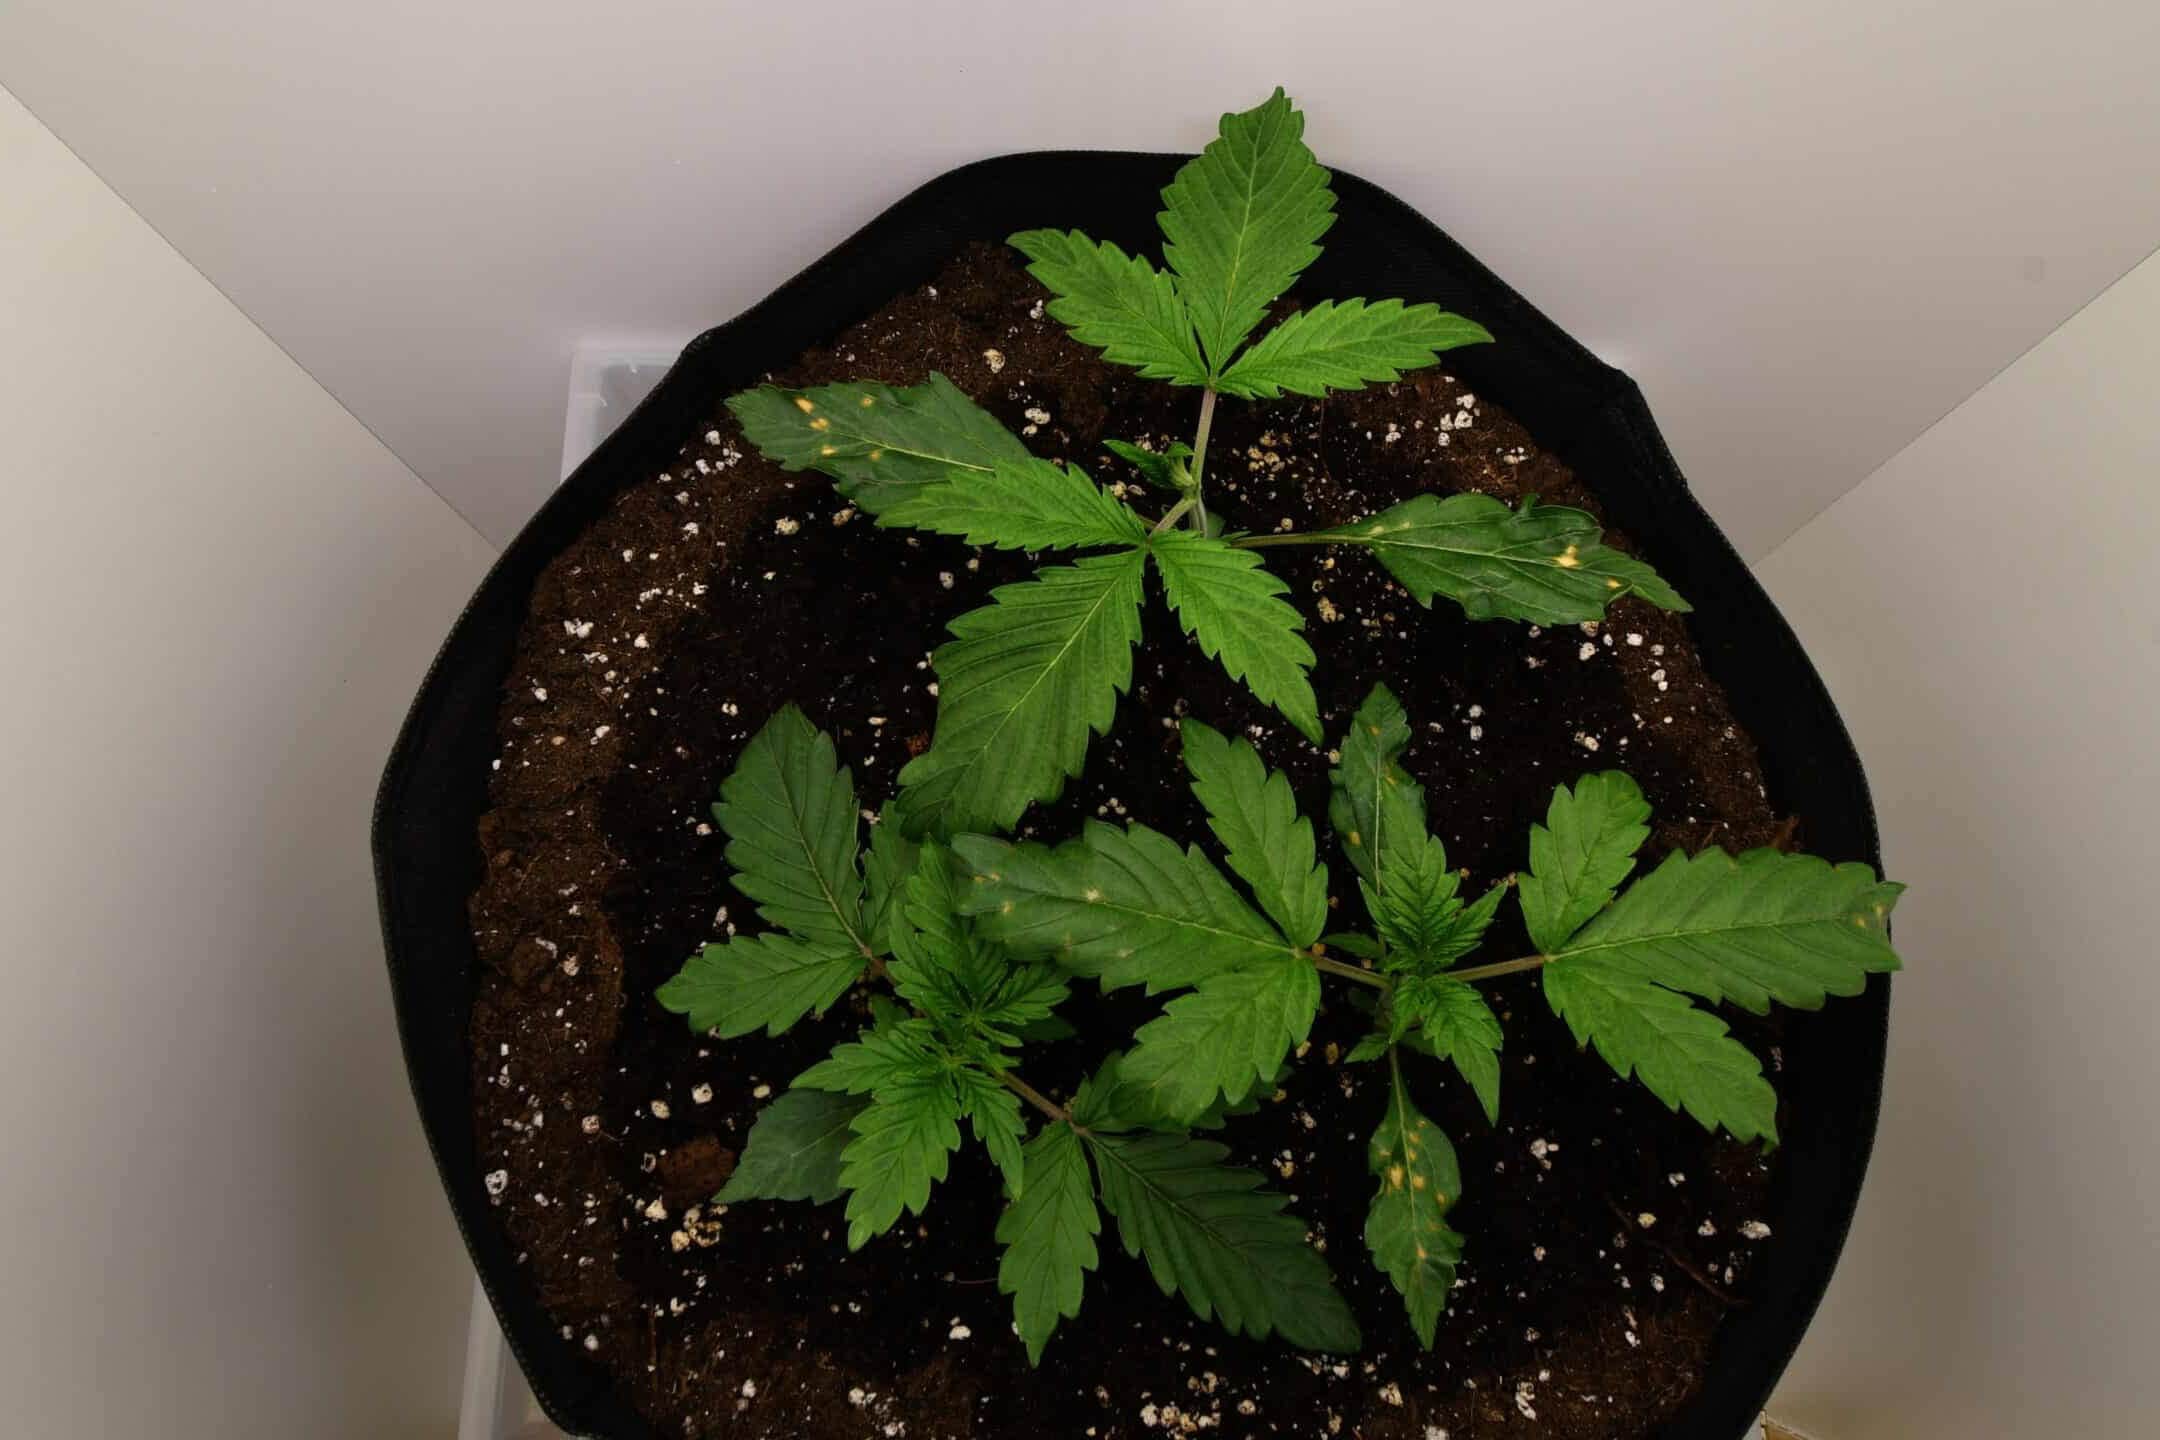
At this stage they’re stable in their pots, have several sets of leaves, and are ready for stronger light, gentle training and, a bit later, some nutrients.
The Best Soil for Autoflowers
Autoflowers love light, airy soil where roots develop fast. Here’s a mix that worked well for me:
- 50% high-quality organic soil – base nutrients for the first weeks.
- 30% perlite – improves drainage and oxygen around the roots.
- 20% coco coir – retains moisture while keeping the structure loose.
Avoid soil that’s extremely dense or heavily pre-fertilized – autoflowers are light feeders and can burn easily. If you’re feeling lazy (like I am sometimes), just grab an airy, light, pre-fertilized soil meant for vegetables or herbs from a good garden centre – that often works fine too.
Optimal Lighting for Autoflower Growth
Autoflower cannabis doesn’t need a strict 12/12 schedule, but good lighting is still the biggest yield factor. From my experience, these cycles work well:
- Seedlings (Day 0–14): up to 24 hours of light for rapid early growth – but don’t run 100% intensity or you’ll fry the babies.
- Vegetative stage (~Day 15–40): 20/4 or 18/6 to balance growth and electricity use. Increase intensity slowly over several days.
- Flowering stage (from ~Day 40): 18/6 – enough light for bud development while still giving the plant a dark period.
I use a full-spectrum LED grow light about 30–40 cm above the plants (depending on the model). If the leaf tips start to bleach or curl, that’s a sign the light is too intense or too close.
Temperature & Humidity Control
Stable temperature and humidity matter as much as nutrients. The ranges I aim for indoors:
- Seedlings: 22–26°C, 60–70% relative humidity.
- Vegetative stage: 22–28°C, 50–60% humidity.
- Flowering stage: 18–26°C, 40–50% humidity.
An exhaust fan plus an oscillating fan are essential to avoid stagnant air, heat pockets and mould. If humidity is way too low or high, a humidifier or dehumidifier helps a lot.
Watering Techniques
Most problems when people grow autoflower cannabis come from overwatering or underwatering. A simple guideline:
- Seedlings: light misting or small waterings every 1–2 days, without soaking the whole pot.
- Vegetative stage: water when the top 2–3 cm of soil feel dry and the pot is noticeably lighter.
- Flowering stage: plants drink more, but never let them sit in standing water – water thoroughly, then let the soil dry out a bit.
I keep my water’s pH between 6.0 and 6.5 so nutrients are absorbed properly. If your tap water is very hard, a simple jug filter already makes things easier.
Fertilizing Autoflowers
Autoflowers do need nutrients – just not too much. I always start below the manufacturer’s recommendation and increase slowly only if the plants look hungry.
- Vegetative stage: use a nitrogen-rich fertilizer for leaf and stem growth, starting at about 50% of the recommended dose and watching how the plants react.
- Flowering stage: switch to a phosphorus- and potassium-rich bloom fertilizer and gradually reduce nitrogen, so the plant focuses on flowers rather than leaves.
Typical signs of overfeeding are very dark green leaves and burnt tips. Pale or washed-out leaves can point to deficiencies. Start low, observe, and adjust.
Training Techniques for Maximum Yield
Because autoflower cannabis only has a short vegetative phase, gentle training techniques are your best friends. I mainly use low-stress training (LST) and later a bit of lollipopping.
1. Bending & tying down (LST)
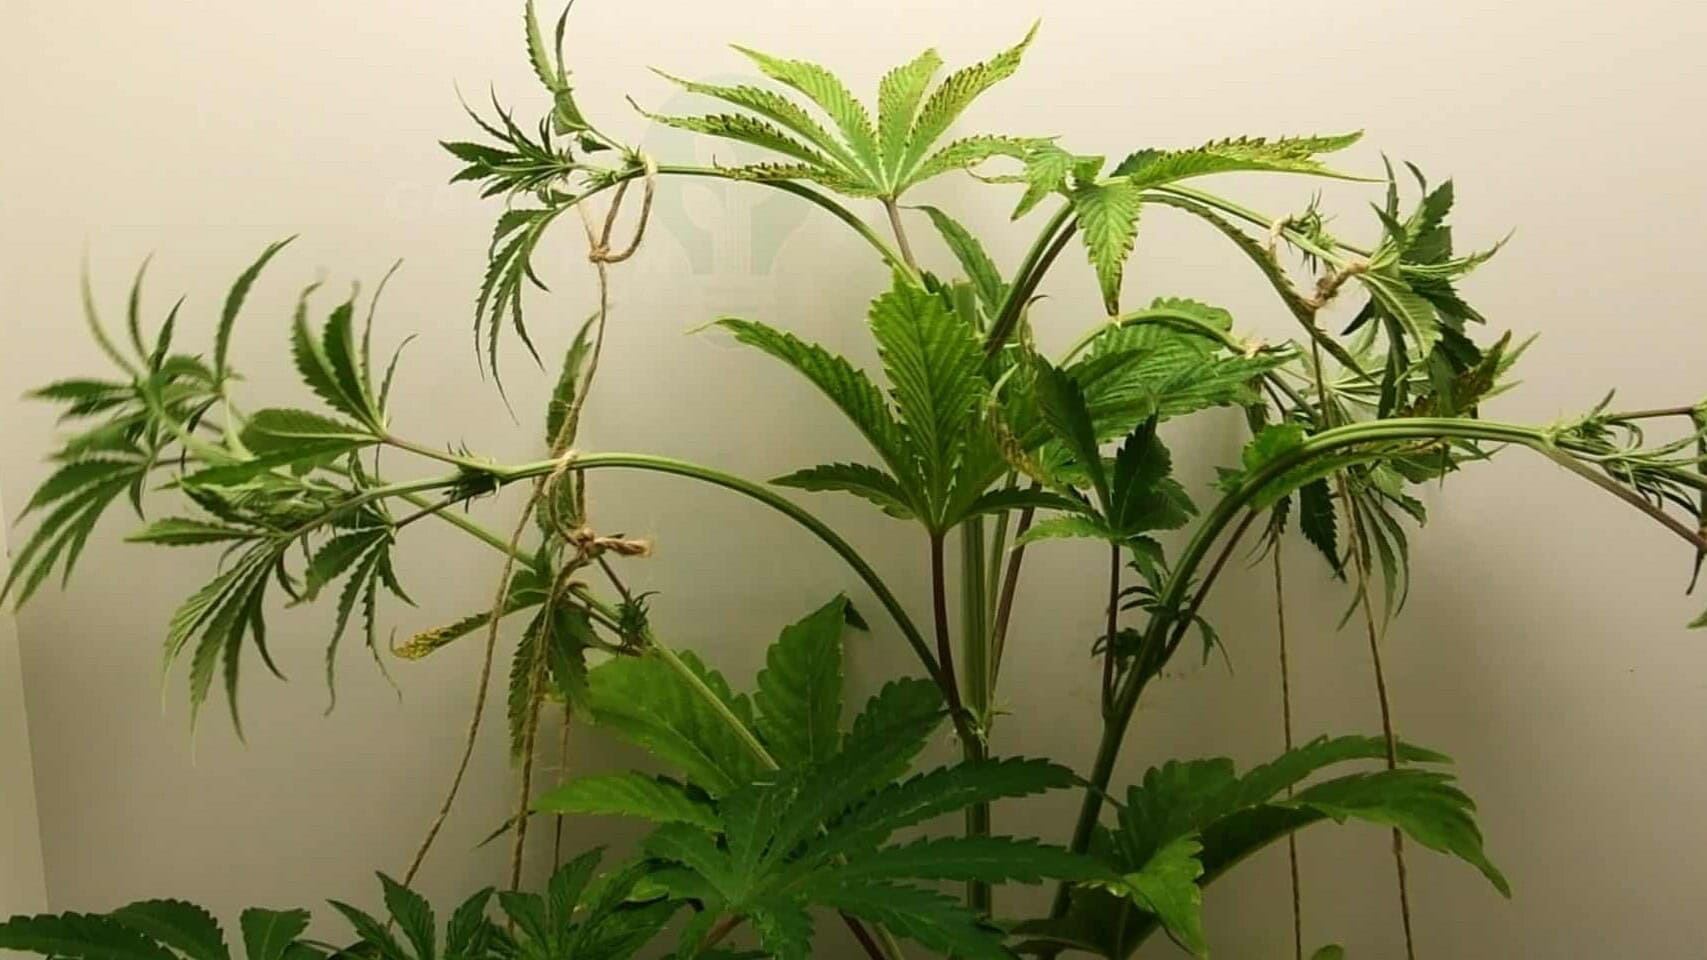
- Gently bend the main stem sideways and tie it down with soft wire or plant ties.
- This creates a flat, even canopy so lower bud sites get more light.
- You can also use LST to keep multiple plants roughly the same height, which makes light positioning much easier.
2. Lollipopping for bud focus
- Around mid-flower, remove some lower branches and tiny “popcorn buds” that don’t get much light.
- This helps the plant focus energy on the top colas, producing larger, denser buds.
- Great tutorial: Royal Queen Seeds – Lollipopping Guide
Harvesting, Drying & Curing
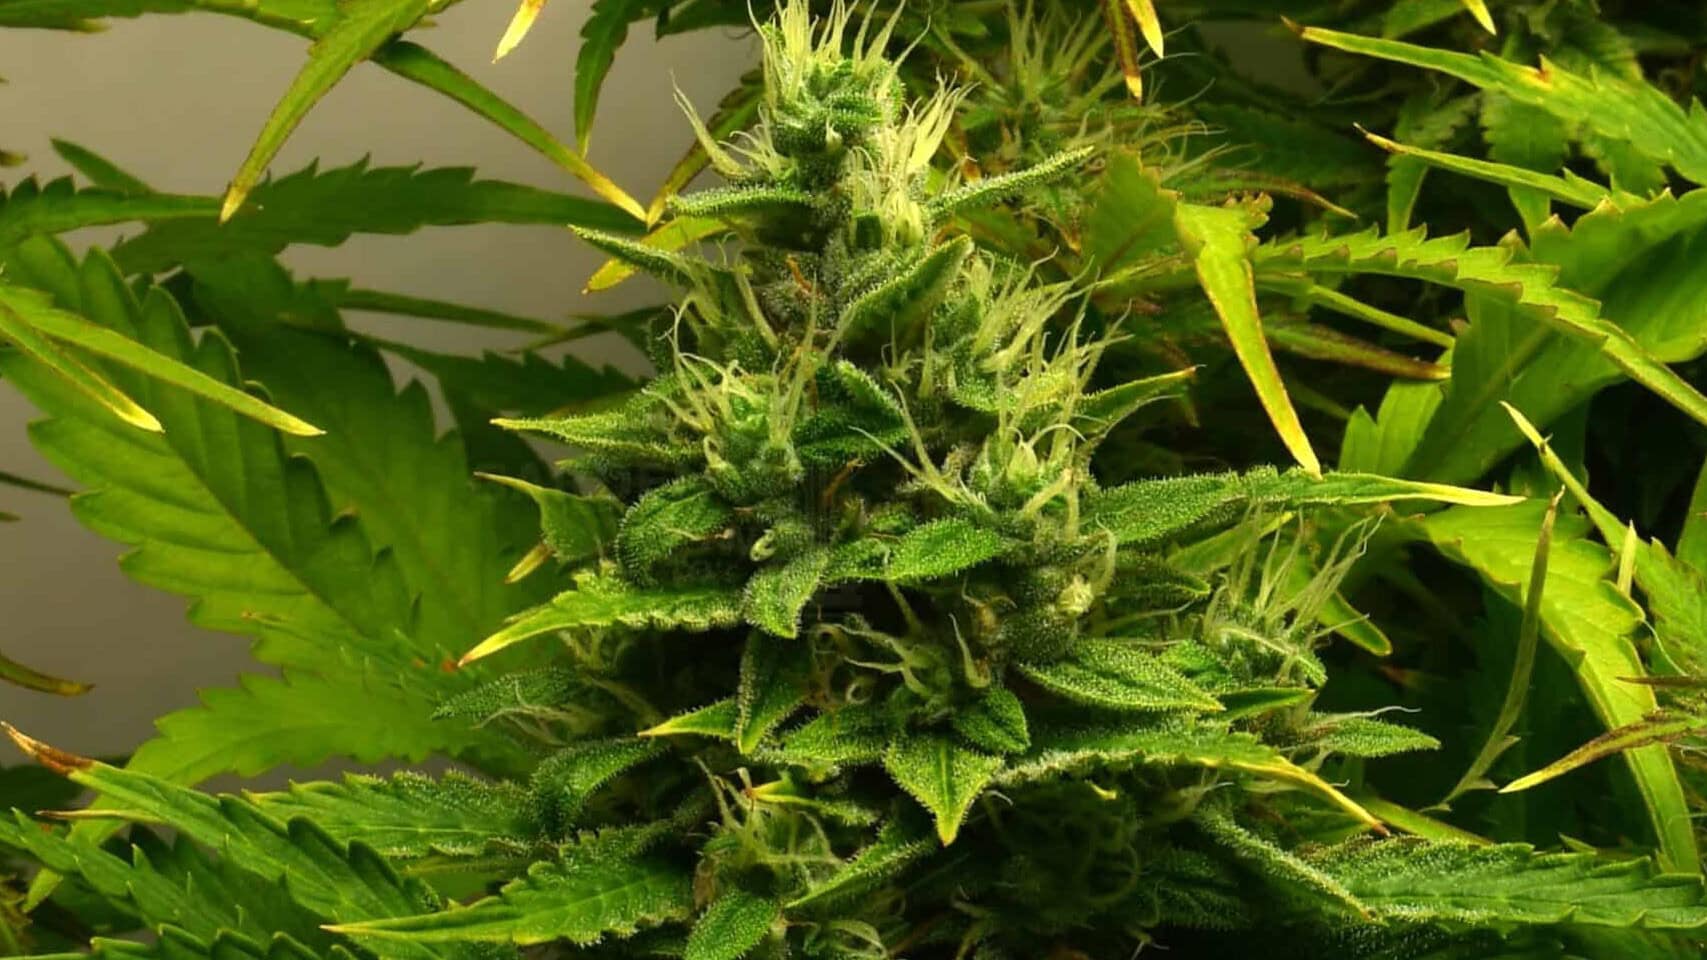
In early flower, buds are still small and covered in fresh white pistils. Later they thicken up and pack on weight:

To nail the harvest timing, I use a small magnifier to check the trichomes. Around day 70–80 many autoflowers show mostly milky-white trichomes – a good point to harvest for a strong, uplifting effect (wait for more amber if you prefer a heavier, more relaxing one).
- Drying: hang the buds in a dark, well-ventilated room at 18–22°C and around 50% humidity for 7–10 days.
- Curing: move the dried buds into glass jars with 62% humidity packs. For the first 2 weeks, open the jars once a day to release excess moisture and improve aroma.
Common Growing Issues & Solutions
- Yellowing leaves early on: often nitrogen deficiency or not enough nutrients (if your soil is very light).
- Brown spots on leaves: can be a sign of calcium or magnesium deficiency.
- White powdery residue: possible powdery mildew – improve airflow and lower humidity.
- Drooping leaves: usually over- or underwatering. Check pot weight and your watering rhythm.
Frequently asked questions
Most autoflowers finish in about 70 to 80 days from seed to harvest, which is noticeably faster than photoperiod plants. Some strains run a little longer.
Autoflowers flower based on age, not light hours, so you do not need a 12/12 switch. Common schedules are 18/6 or 20/4 the whole way through, with up to 24 hours of light for seedlings.
Check the trichomes with a magnifier. Harvest when most are milky-white (cloudy) for a strong, uplifting effect, or wait until more turn amber for a heavier, more relaxing one.
Yes. They are fast, compact and forgiving. Just remember they are light feeders that do not recover well from big mistakes, so go gentle on nutrients, watering and transplanting.
External Resources if You Want to Dive Deeper
- How to Grow Autoflowering Cannabis – Royal Queen Seeds
- Autoflowering Marijuana Cultivation Guide – Cannactiva
Final Thoughts
Prefer watching a grow instead of reading about it? Here’s my autoflower timelapse / tutorial video:
Growing autoflower cannabis is pretty beginner-friendly as long as you respect a few basics: light, airy soil, consistent light, clean watering habits, moderate feeding and gentle training. With every grow you’ll learn more and can fine-tune your setup and strains to your style. Happy (legal) growing! 🌱
More Plant Projects You Might Like
- How to Grow a Cannabis Bonsai – a slower, more ornamental take on the same plant.
- Plant Time-Lapse Equipment Guide – the exact camera, lights and interval settings I use for my grows.