Welcome to my monstera care guide. Whether you’re a seasoned plant enthusiast or a complete newbie, this tutorial covers everything from soil mix and light to watering, propagating and repotting these gorgeous plants. Let’s dive in and grow a thriving monstera.
TL;DR – Monstera Care at a Glance
- Soil: airy, well-draining aroid mix (orchid bark, perlite, coco coir, worm castings, charcoal).
- Light: bright, indirect light – not harsh direct sun. Low light means few or no leaf splits.
- Water: when the top 1–2 cm of soil is dry; never let it sit soggy.
- Humidity: 40%+ (70% is ideal); a moss pole encourages bigger, more fenestrated leaves.
- Propagation: easy from a cutting with a node, in water or moss.
- Heads up: monstera is toxic to cats and dogs if chewed – keep it out of reach.
Getting Started: The Perfect Soil Mix
Soil is one of the most crucial factors in growing any plant, and monsteras are no exception. They thrive in a mix that retains moisture but also drains well. A slightly acidic mix with a pH of 5.5–6.5 is ideal.
The Ideal Soil Mix
Here’s my go-to soil mix for growing monsteras:
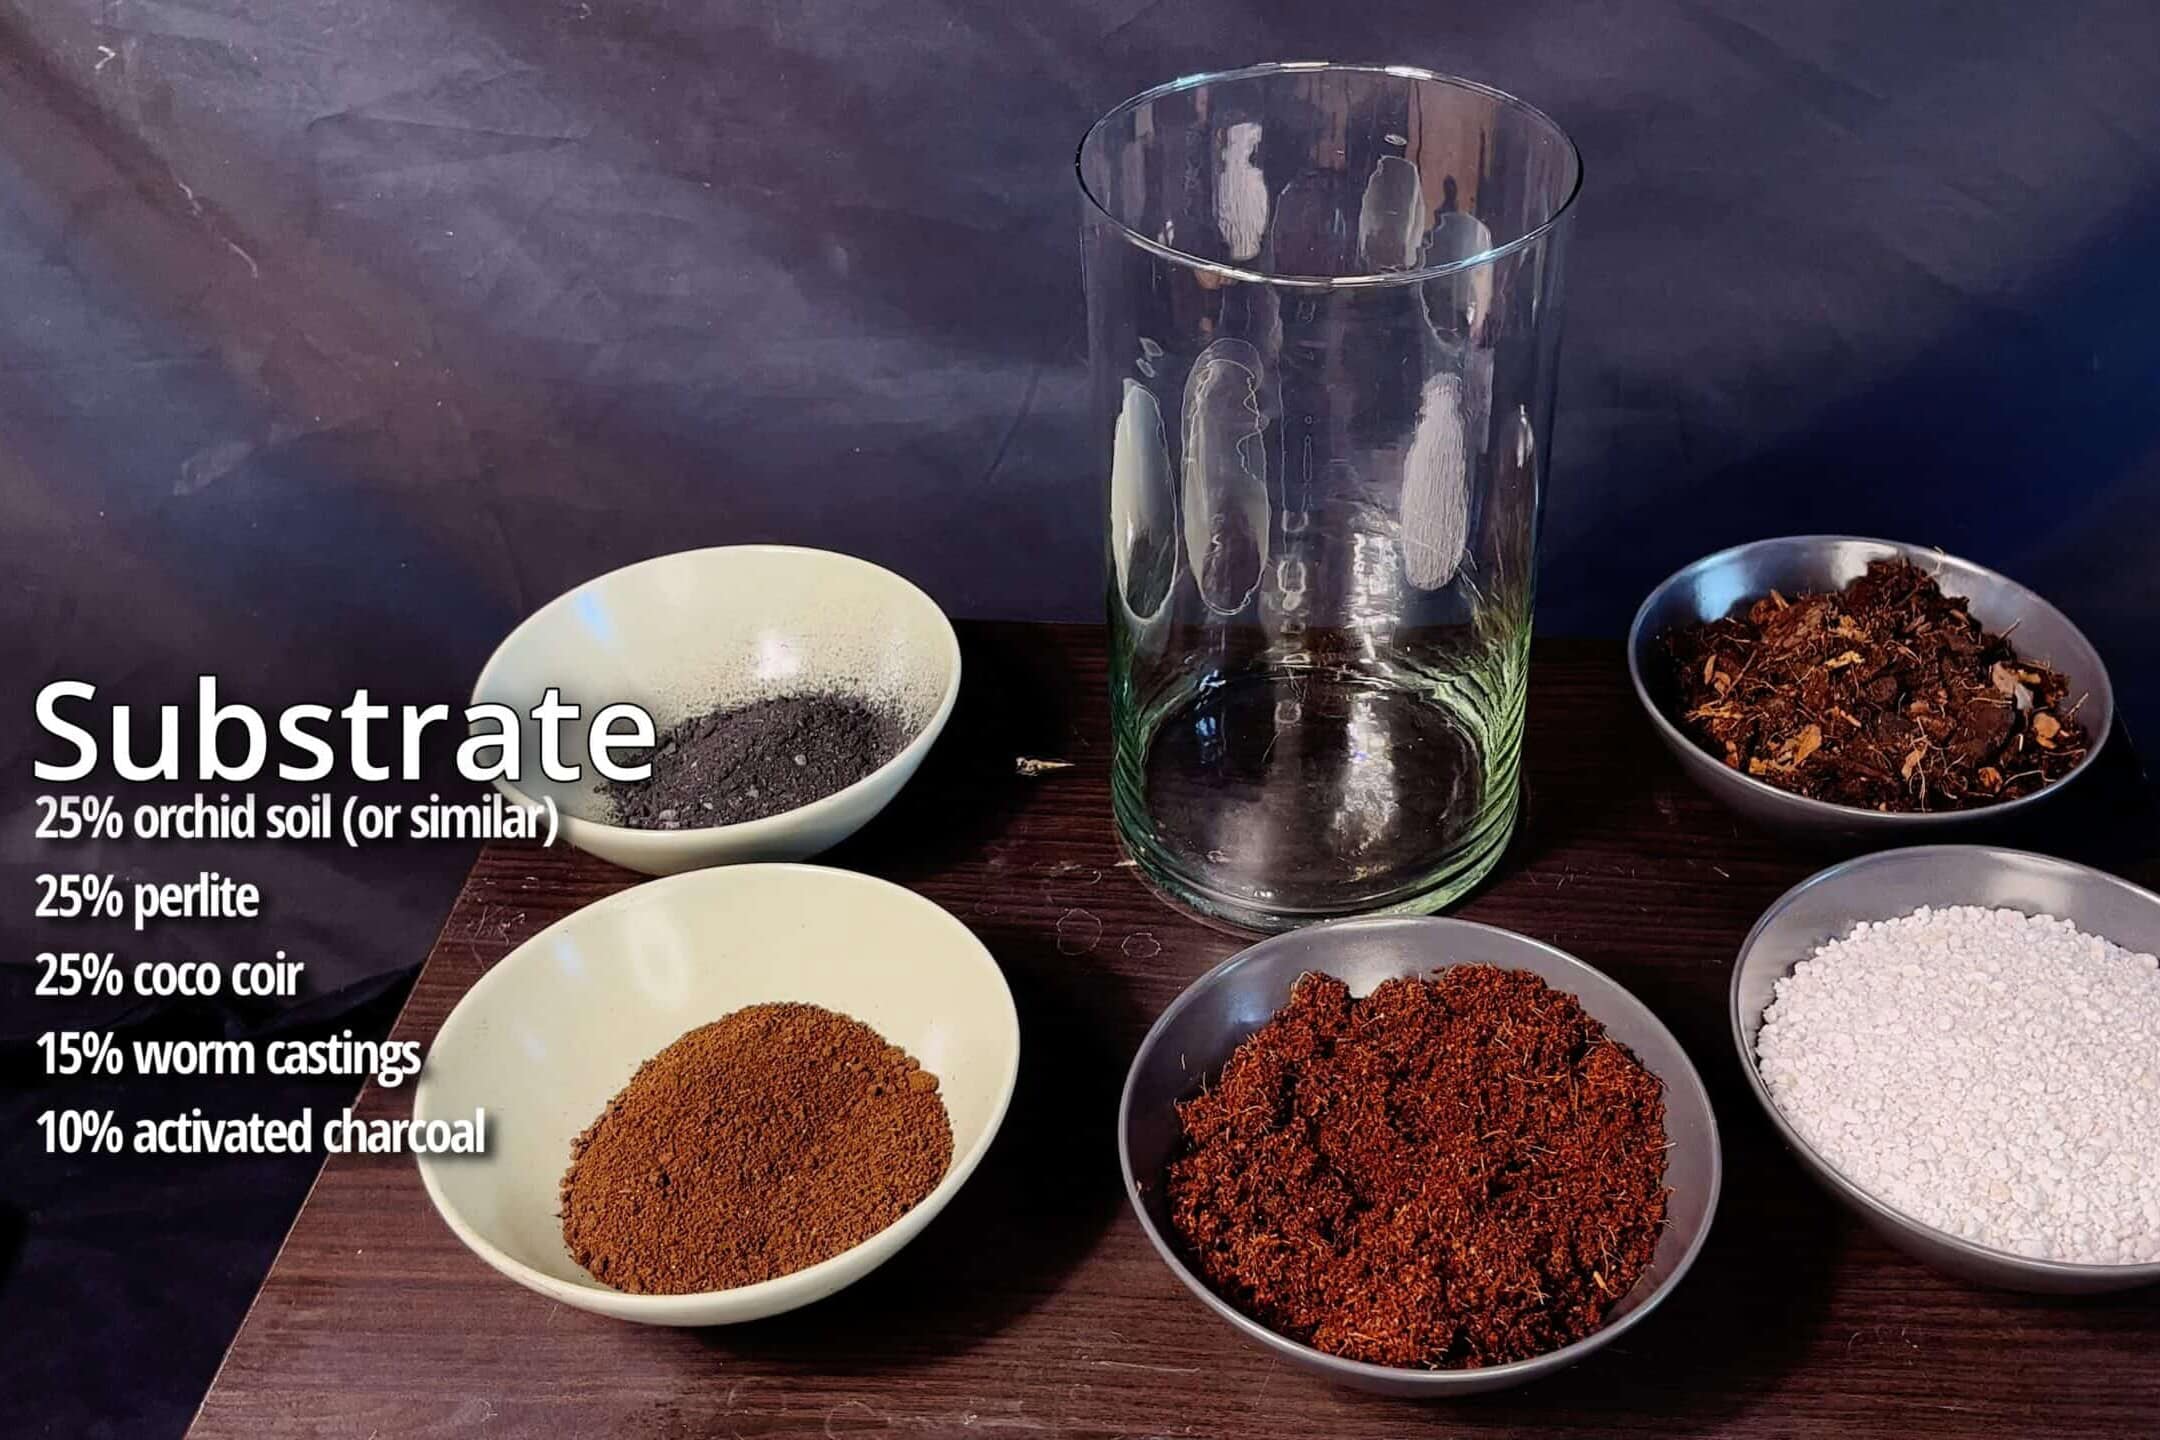
- 25% orchid soil: bark, perlite and other chunky materials for excellent aeration – mimicking the airy, epiphytic environment monsteras grow in.
- 25% perlite: a lightweight volcanic glass that improves aeration and drainage, prevents compaction and reduces root rot risk.
- 25% coco coir: made from coconut husks, retains moisture while draining well – a sustainable alternative to peat moss.
- 15% worm castings: a rich organic fertilizer full of nutrients and beneficial microbes that improves soil structure.
- 10% activated charcoal: helps keep the soil fresh and discourages harmful bacteria and fungi around the roots.
I use this mix for all my aroids, including monsteras. Just mix everything thoroughly so the roots have a consistent medium to grow into.
Enhancing Drainage
To further improve drainage, I add a bottom layer of pine bark to my pots. It helps excess water escape and is slow to decompose, so it benefits the soil structure long-term.
Watering and Fertilizing
Proper watering and feeding prevent the most common monstera issues: overwatering, underwatering and nutrient deficiencies.
Watering Your Monstera
Monsteras like their soil to dry out slightly between waterings, mimicking the rain-then-dry cycle of their habitat. My routine:
- Check soil moisture: stick a finger 1–2 cm into the soil. Dry? Time to water. Still moist? Wait a few days.
- Watering method: I water in two steps – a light pass first, then a few minutes later water again until it drains from the bottom. This hydrates the whole root ball without waterlogging it.
- Water quality: use room-temperature water to avoid shocking the roots. Filtered water is ideal if your tap water is heavily chlorinated.
Fertilizing Your Monstera
Monsteras do well with a balanced fertilizer around an N-P-K ratio of 3-1-2. How I feed mine:
- Frequency: in spring and summer I feed every 7–14 days when using a grow lamp, or once a month without. In fall and winter I cut back to once a month as growth slows.
- Application: I dissolve the fertilizer in hand-warm water, then water as usual so it reaches the root zone.
- Alternatives: similar N-P-K ratios work fine. Organic options like fish emulsion, seaweed extract and compost tea add micronutrients and support soil health.
Light and Humidity
Light and humidity make the difference between a sad, leggy monstera and one with big, iconic fenestrated leaves.
Light Requirements
Monsteras love bright, indirect light – in the wild they grow under the canopy of larger trees. Here’s how to get it right:
- Bright indirect light: near a window with plenty of indirect sun. East-facing windows are ideal; for south or west, filter with a sheer curtain to avoid scorching.
- Avoid direct sun: it scorches the leaves, causing brown spots and edges. Move the plant back if you see sunburn.
- Grow lights: if natural light is low, energy-efficient LED grow lights work well. Aim for roughly 10,000–15,000 lux and adjust the distance to hit that.
By far the easiest way to find the best spot is a small lux meter – it takes the guesswork out of “is this bright enough?” and lets you place the plant exactly where it’ll thrive.

Humidity Requirements
Monsteras come from the tropics and love humidity. Keeping it up prevents leaf browning and promotes lush growth:
- Humidity levels: aim for above 40%, with 70%+ being ideal. Use a humidifier in dry climates or winter.
- Misting: mist occasionally with a fine spray to keep leaves clean and hydrated – but don’t overdo it, or you risk fungal issues.
- Humidity trays: a tray of water and pebbles near the plant raises local humidity as it evaporates.
- Grouping plants: clustering plants creates a more humid microclimate through transpiration.
Propagating Your Monstera
Propagating monsteras is straightforward and rewarding. You can use head cuttings or stem cuttings to make new plants – great for expanding your collection or sharing with friends.
Head Cuttings
A head cutting is the top of the plant, including a leaf and a node:
- Select a healthy stem: one with a good leaf and at least one node (the small bump where roots form).
- Make the cut: a clean cut just below the node with a sharp, sterile blade reduces infection risk.
- Dry the cutting: let it callus for a few hours to prevent rot.
- Rooting medium: water, perlite or sphagnum moss. Change water regularly; keep perlite or moss moist but not soggy.
- Indirect light: roots appear in a few weeks. Once they’re a few cm long, pot the cutting into soil.
Stem Cuttings
A stem cutting is a segment with at least one node and ideally an aerial root:
- Select a healthy stem: with a node, an aerial root and a leaf.
- Make the cut: clean cut just below the node with a sterile blade.
- Dry the cutting: let it callus for a few hours.
- Rooting medium: water, perlite or moss – change the water regularly or keep the medium moist.
- Indirect light: roots should develop within a few weeks.
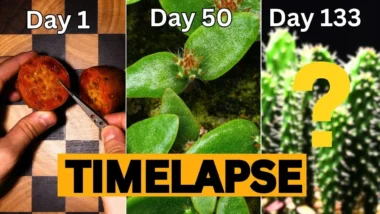
Besides cuttings, monsteras can also be grown from seed! I started a project doing exactly that – find everything here: Growing a Monstera deliciosa from seed.
Repotting Your Monstera
Repotting gives the plant fresh nutrients and room to grow – usually every 1–2 years, or when it outgrows its pot.
When to Repot
- Roots out of the drainage holes: a clear sign it needs more room.
- Slow growth: a root-bound plant often stalls.
- Wilting despite watering: cramped roots can’t absorb water properly.
How to Repot
- Prepare the new pot: 1–2 inches larger in diameter, with drainage holes.
- Remove the plant: tip the pot, tap gently to loosen the root ball.
- Inspect the roots: trim any rotten or damaged roots with sterile scissors.
- Add a bottom layer: pine bark or pebbles for drainage.
- Add soil: centre the plant, fill around the root ball and press gently to remove air pockets.
- Water thoroughly: let the excess drain out.
- Top up: add more soil if it settles after watering.
- Support: add a moss pole or stake for larger plants.
Caring for Monstera Cuttings
Once cuttings have decent roots, move them into soil:
- Choose a small pot with drainage holes – it prevents overwatering while roots establish.
- Use the same soil mix as above.
- Plant the cutting and gently firm the soil around the roots.
- Water and light: water well, then bright indirect light. Avoid direct sun the first few weeks.
- Monitor growth and pot up as the root system expands.
Ideal Growing Conditions (Quick Reference)
A quick recap of everything above, in one place:
Substrate
A well-draining, nutrient-rich aroid mix (orchid soil, perlite, coco coir, worm castings, charcoal) that holds moisture without waterlogging.
Temperature
18–27°C (65–80°F). Avoid below 15°C (59°F) and sudden changes; keep away from drafts and AC vents.
Watering
Water when the top 1–2 cm of soil is dry; reduce in winter. Always check first to avoid root rot.
Light
Bright, indirect light (~10,000–15,000 lux). Supplement with LED grow lights if needed; rotate the plant for even growth.
Humidity
Above 40% (70%+ ideal). Use a humidifier, pebble tray or plant grouping; mist occasionally in dry spells.
Repotting
Every 1–2 years or when root-bound, into a well-draining mix and a pot with drainage holes.
Propagation
Sharp, sterile tools; cutting with a node (and ideally an aerial root and leaf); root in water, perlite or moss after letting it callus.
Common Issues and Solutions
Yellowing Leaves
Cause: overwatering, underwatering or nutrient deficiency. Solution: check soil moisture and adjust watering; make sure it isn’t waterlogged; feed regularly during the growing season.
Brown Leaf Edges
Cause: low humidity, underwatering or too much direct sun. Solution: raise humidity, adjust watering, and move to bright indirect light.
Leggy Growth
Cause: insufficient light. Solution: move to a brighter spot or add grow lights, and rotate the plant for even growth.
Pests
Common pests: spider mites, aphids and mealybugs. Solution: inspect regularly, treat with insecticidal soap or neem oil, and raise humidity to deter spider mites.
Advanced Care Tips
Training Your Monstera
Monsteras can be trained up a moss pole or trellis – it saves space and encourages larger leaves.
- Install a moss pole when repotting and secure it firmly.
- Attach the stems gently with plant ties or soft twine, without damaging them.
- Keep the pole moist to encourage aerial roots to attach.
Pruning and Shaping
- Sanitize tools to avoid spreading disease.
- Remove dead or yellowing leaves for health and looks.
- Trim leggy stems to encourage new growth from the base.
- Shape selectively by cutting back overgrown or dense areas.
Enhancing Leaf Development
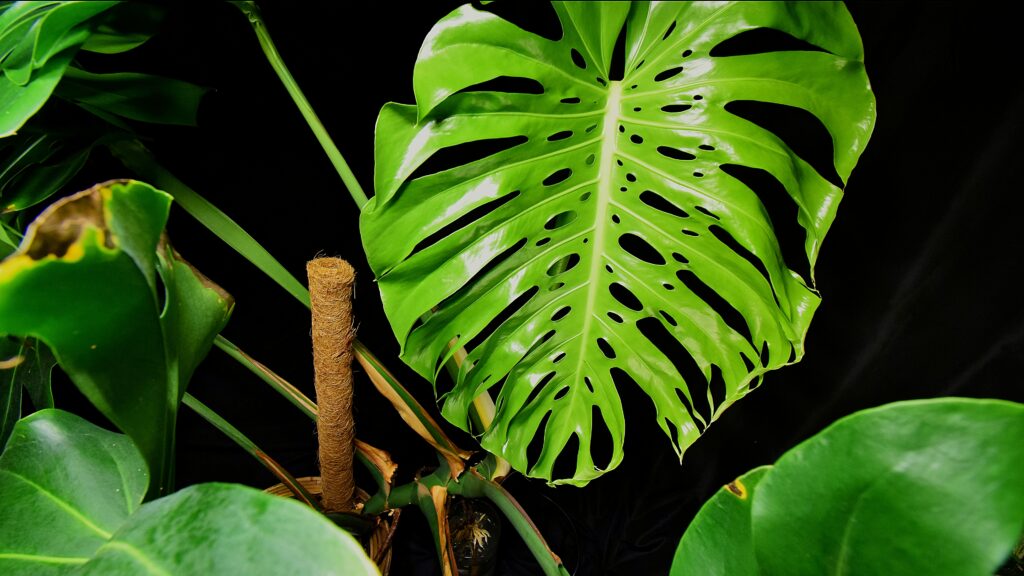
To encourage those characteristic splits and holes (fenestrations): support climbing on a moss pole (climbing plants develop larger, more mature leaves), provide bright indirect light (low light means smaller, less fenestrated leaves), and keep humidity high.
Frequently asked questions
Fenestrations come with age and light. Young plants have plain heart-shaped leaves and only develop splits once they mature (often after 1 to 2 years). Give bright indirect light and let the plant climb a moss pole to speed it up.
Water when the top 1 to 2 cm of soil is dry, which is often about weekly in summer and less in winter. Never let it sit in soggy soil, as overwatering is the main cause of root rot.
Yes. A cutting with at least one node roots well in a jar of water. Change the water regularly so it stays fresh, and pot the cutting into soil once the roots are a few centimetres long.
Yes. Monstera deliciosa is part of the arum family and contains insoluble calcium oxalate crystals that are toxic to cats and dogs if chewed, causing mouth and throat irritation. Keep it out of reach of pets and small children.
Further Reading on Monstera Care
- How to Grow Swiss Cheese Plants (Monstera) – Royal Horticultural Society
- Monstera deliciosa plant profile – RHS
More Plant Projects You Might Like
- Growing a Monstera deliciosa from Seed – the slow, patient way to a monstera.
- Avocado Bonsai from Seed – another rewarding indoor project from a single seed.
- Pomegranate Bonsai from Seed – a miniature tree for the windowsill.
And there you have it! Growing a thriving monstera isn’t daunting once you break it down: the right soil mix, proper watering and light, a bit of humidity and some patience. Happy growing! 🌱