TL;DR – Grow a Chestnut Tree from Seed
- Start with fresh sweet chestnuts (Castanea – the edible kind, not toxic horse chestnuts).
- Cold-stratify them in the fridge for 8–12 weeks to break dormancy.
- Germinate on a wet paper towel, then plant in loamy, well-draining soil.
- Group several together and you get a mini chestnut jungle – perfect for a timelapse.
Growing a Chestnut Tree from Seed (and a Whole Mini Jungle)
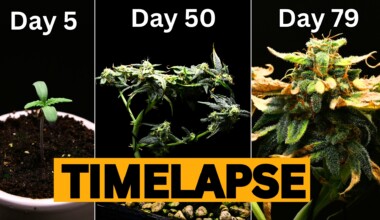
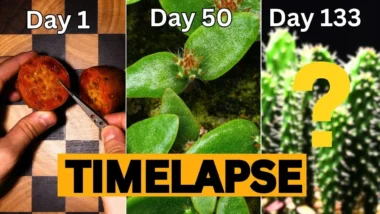
Ever wanted to grow your own little forest? I took a handful of chestnuts, planted them in a tray and turned them into a mini chestnut jungle – tiny nuts, big leaves, lots of green. I grew these myself, from raw nuts to a tray full of seedlings, and filmed the entire months-long process as a timelapse, so you can watch a brown seed become a lush green canopy in about a minute.
If you just want to see the magic first, here’s the full chestnut timelapse:
Want to film your own seed-to-tree timelapse? Everything I use is in my Plant Time-Lapse Equipment Guide – camera, interval settings and lighting.
How to Grow a Chestnut Tree from Seed, Step by Step
Sweet chestnuts (Castanea, the edible kind – not horse chestnuts) need a cold winter period before they wake up and grow. Here’s exactly how I prepared and germinated mine for the timelapse.
What you’ll need
- Fresh sweet chestnuts (not horse chestnuts)
- Paper towels and a zip bag for cold stratification
- Pots or trays with drainage holes
- Loamy, well-draining potting mix with some sand
- Optional: a grow light for indoor seedlings
Step 1: Collect and check the chestnuts
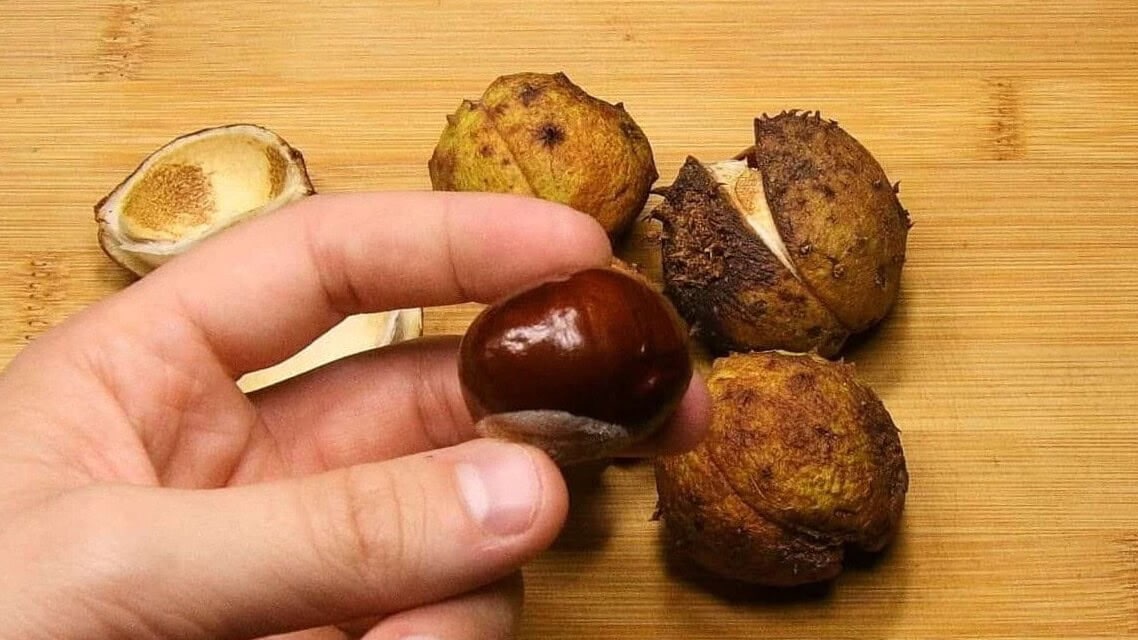
Start with fresh, healthy chestnuts. Skip any that feel light, have holes or are already moldy – those are far more likely to rot than sprout.
Step 2: Cold-stratify the chestnuts in the fridge
Chestnut seeds need a fake winter to break dormancy. That’s where the fridge comes in.
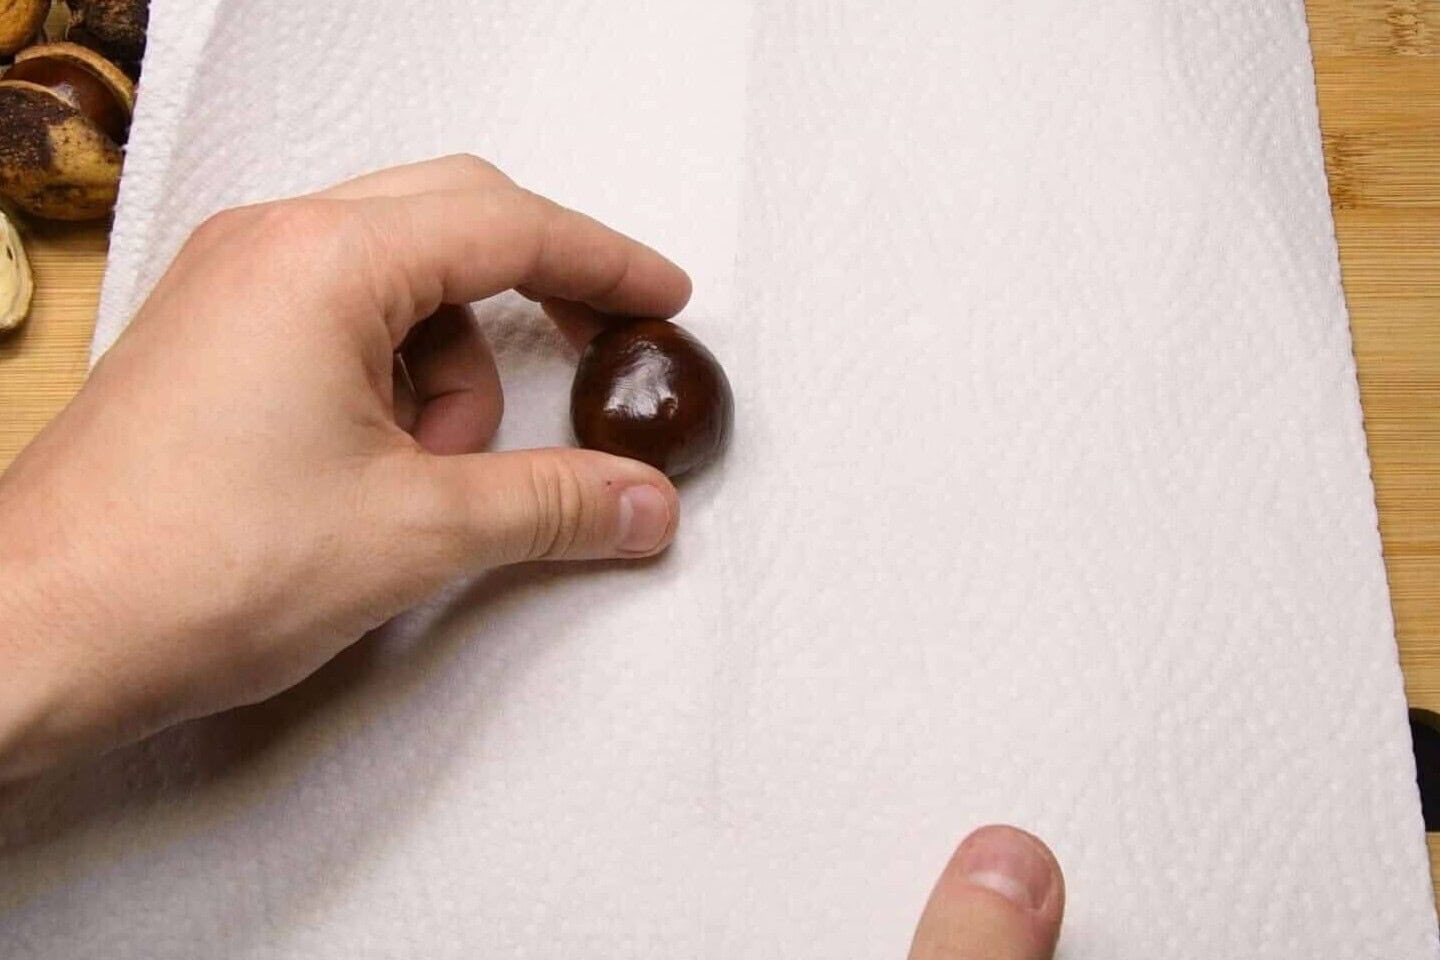
- Wrap the chestnuts in a moist paper towel (not dripping wet).
- Place them in a zip bag or small box so they don’t dry out.
- Store them in the fridge at around 1–4°C (34–39°F) for 8–12 weeks.
- Check every couple of weeks: re-mist if the towel dries out, and remove any nuts that turn mushy.
Step 3: Wait for germination
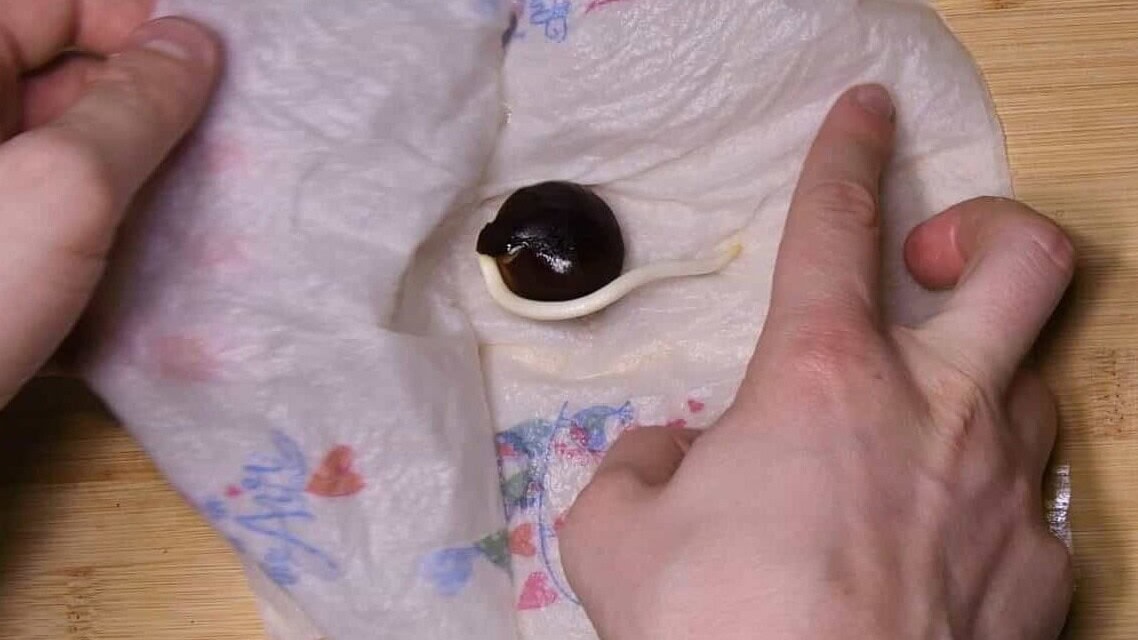
After a while you’ll see the shell cracking and a white root emerging – congratulations, your chestnut tree officially exists now. Once the root is a couple of centimetres long, it’s time to plant.
Step 4: Plant the chestnut seedlings
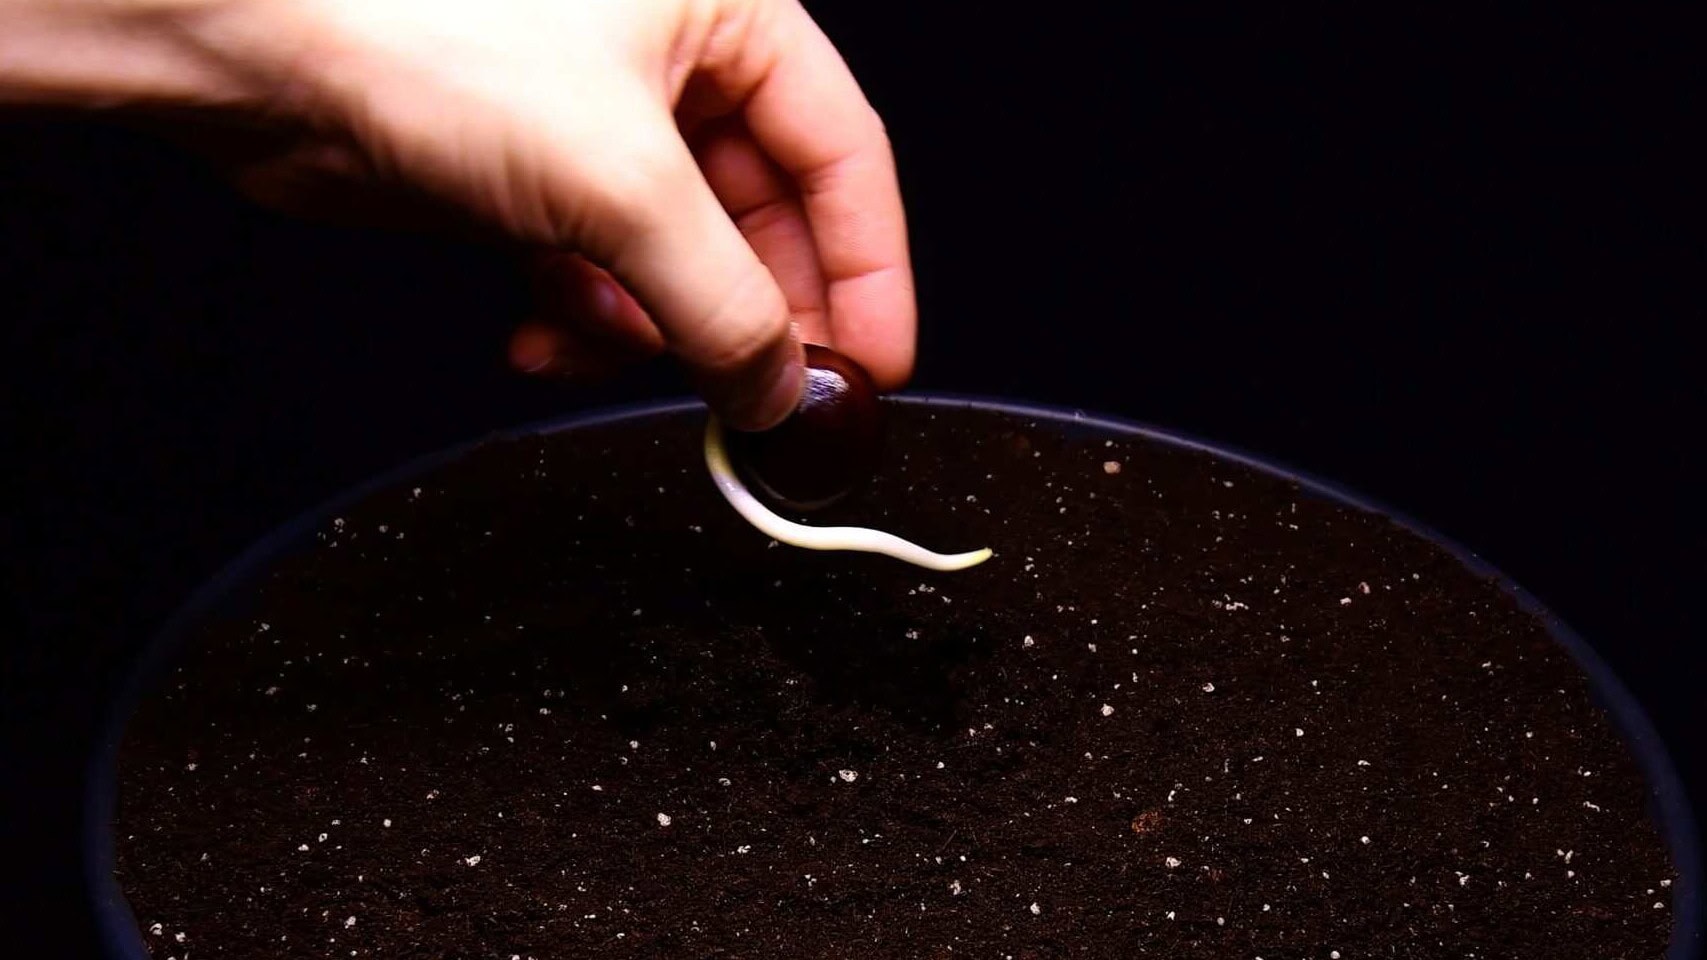
- Fill a pot or tray with loamy, well-draining soil.
- Make a small hole and place the chestnut with the root pointing down.
- Cover it with 2–3 cm of soil and water gently.
- Put the pot in a bright, cool spot and keep the soil slightly moist.
Step 5: Watch your tiny chestnut forest appear
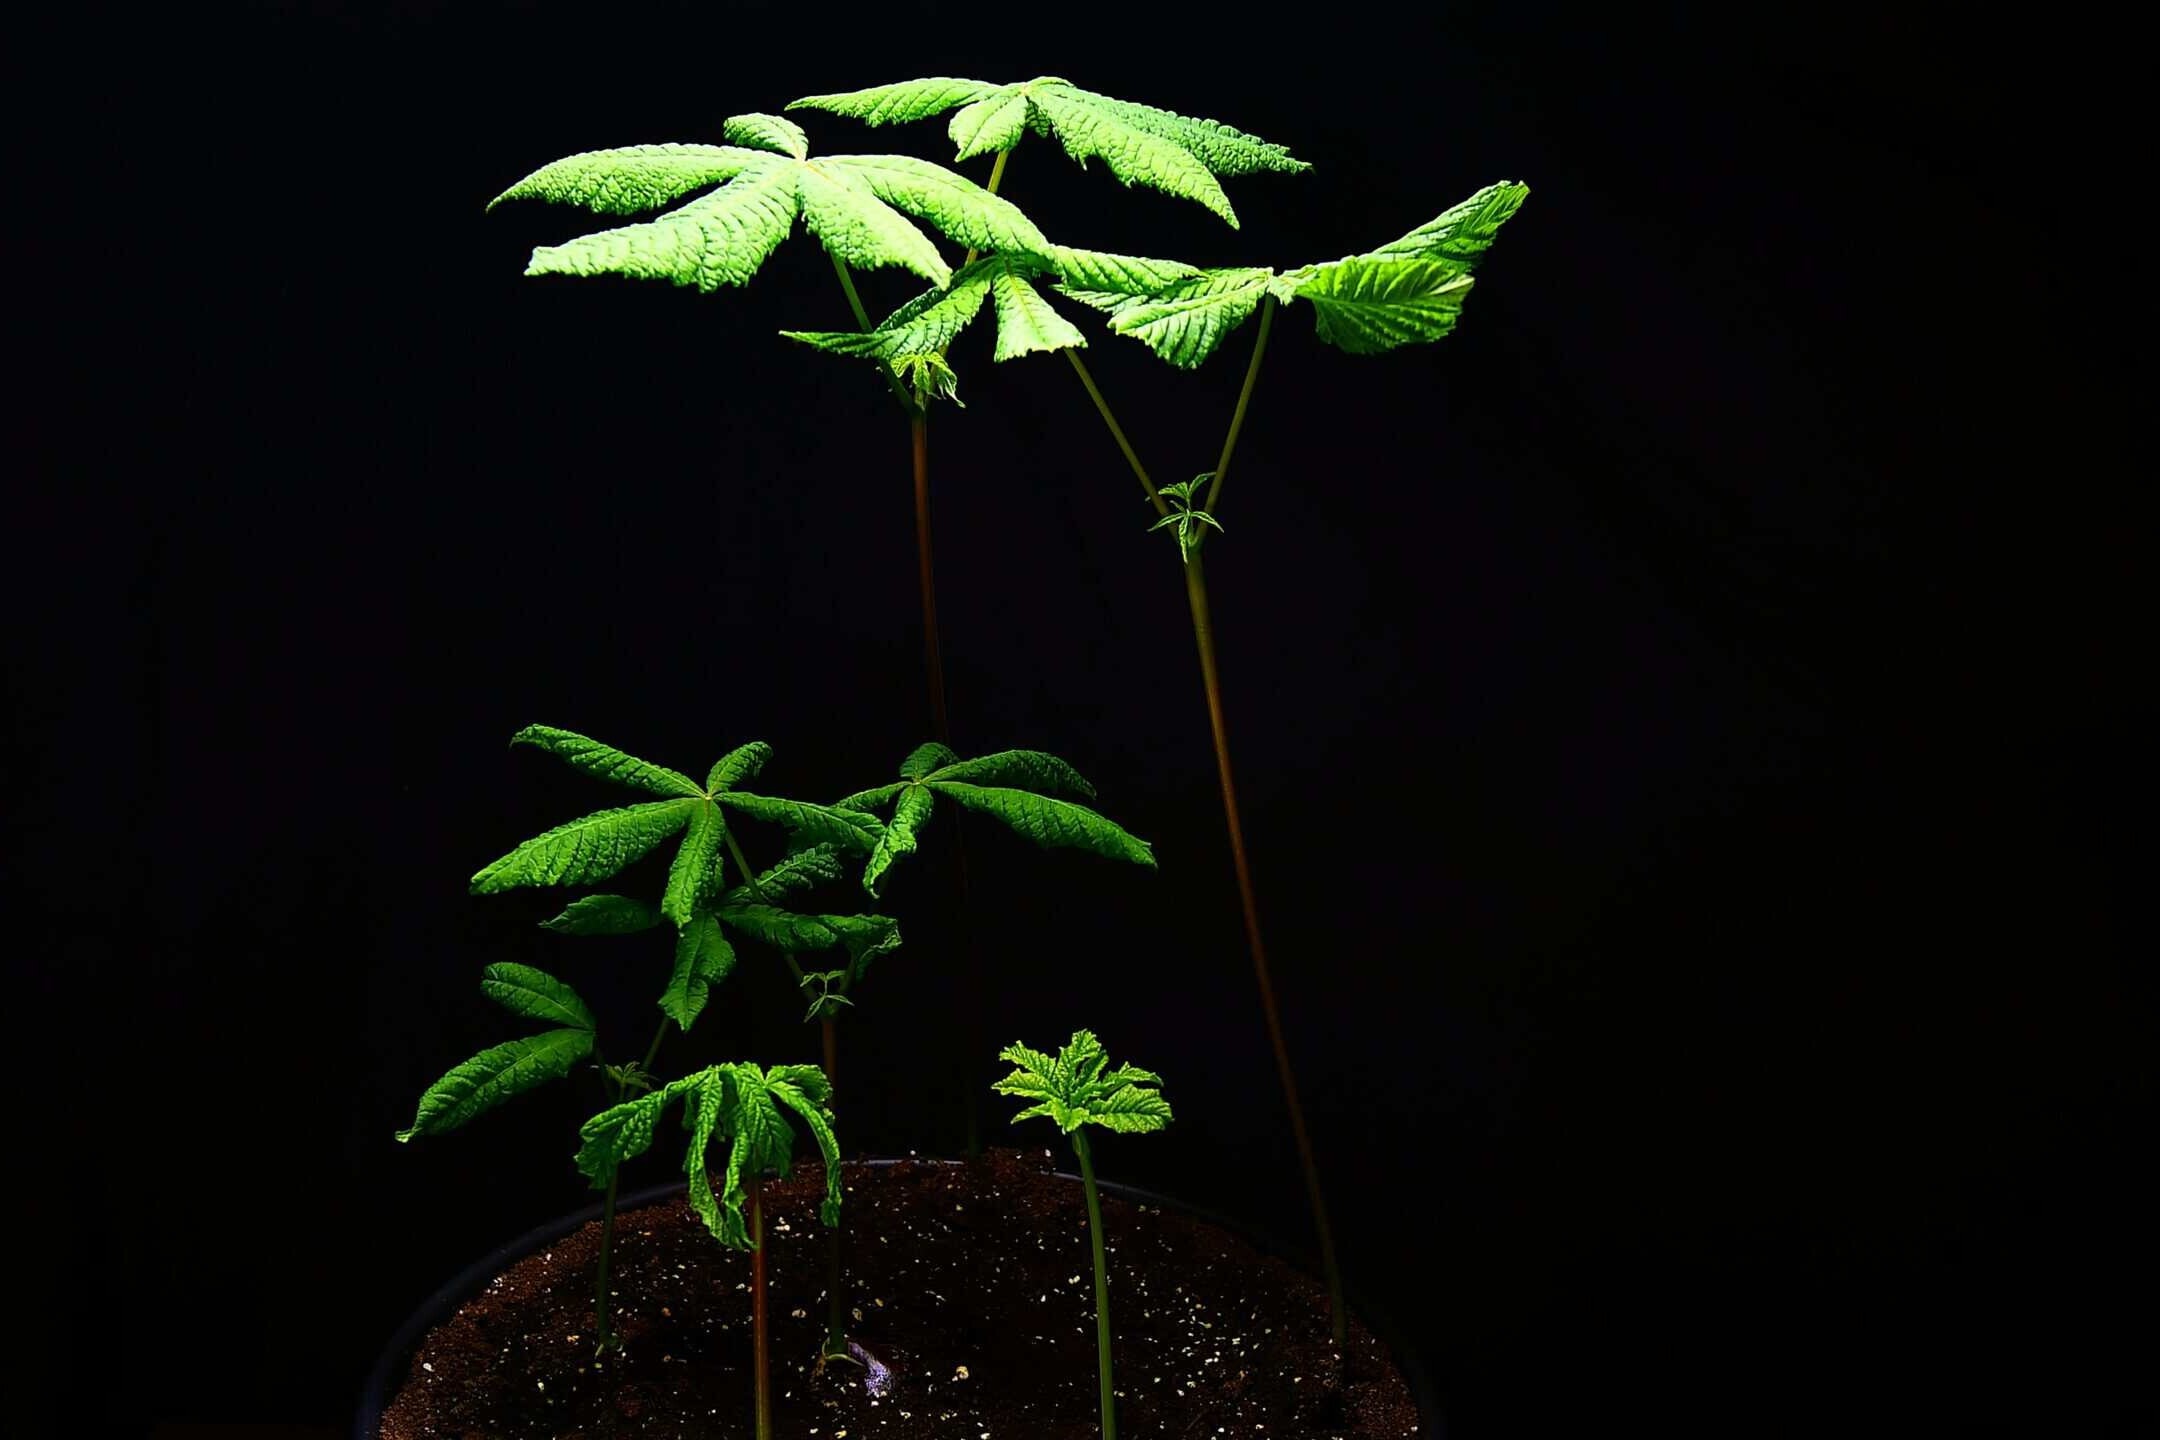
After a few weeks the first chestnut seedlings push through the surface and start unfolding their leaves. Grouped together they quickly look like a small jungle – perfect for a timelapse and for your inner tree-hugger.
Ideal Growing Conditions for Chestnut Trees
Whether you keep them in pots for a while or plan to plant them out later, chestnut trees appreciate a few basic conditions. For the botanical detail on Castanea sativa, the RHS has a solid sweet chestnut profile.
Soil & substrate
Chestnut trees like well-drained, slightly acidic to neutral loamy soil. A mix of quality potting soil with some sand or perlite works great – it gives the roots air and nutrients while avoiding waterlogging.
Temperature
For cold stratification, keep the nuts around 1–4°C (34–39°F) in the fridge. After planting, they germinate best between 18–24°C (65–75°F). Once established outdoors, chestnut trees are hardy and handle typical temperate climates well.
Watering
Young chestnut trees need consistently moist soil, especially in the first year. Water when the top layer feels dry, but never let the pots sit in standing water. Outdoors, deep but less frequent watering encourages strong roots.
Light
Chestnut trees love full sun – aim for at least 6–8 hours of direct light per day. Indoor seedlings do best near a bright south-facing window or under a grow light until they’re ready for the great outdoors.
Why Growing Chestnut Trees from Seed Is So Satisfying
Growing a chestnut tree from seed is basically slow-motion wizardry: you put a shiny brown nut in soil and, months later, you have actual tiny trees. The timelapse shows the whole story in fast-forward, but watching the seedlings stretch and leaf out in real life is even better.
Grab some chestnuts next season, give them their fake winter in the fridge, and start your own mini chestnut forest. Worst case, you’ve learned a lot. Best case, you end up with a bunch of young trees to plant or give away.
Frequently asked questions
Yes. For the first few years you can keep them in large containers. Long term they prefer to live in the ground with plenty of root space.
For most sweet chestnut species, yes. Without a cold period the germination rate is much lower. The fridge trick is the easiest way to simulate winter.
No. Only sweet chestnuts (Castanea) are edible. Horse chestnuts (Aesculus) are toxic, so make sure you know which species you are collecting before snacking or planting.
After 8 to 12 weeks of cold stratification you will usually see a root within a few weeks, and seedlings push through the soil a few weeks after planting.
More Plant Projects You Might Like
- Growing an Oak Tree from an Acorn – 195-Day Timelapse – another cold-stratified tree-from-seed project, lots of roots and patience.
- Grow a Nectarine Tree from Seed – 200-Day Timelapse – same fridge-stratification trick, different seed.
- Plant Time-Lapse Equipment Guide – the camera setup, interval settings and lighting behind every timelapse.