TL;DR (quick summary)
- This tutorial shows you how to create your own DIY jar ecosphere — a tiny, self-sustaining ecosystem in a glass jar.
- You’ll learn which materials to collect at a river or pond, how to layer sand, stones, plants and water, and how to seal the jar so it runs on its own.
- We cover the ideal conditions (light, temperature, substrate) and how to avoid the classic “everything turns brown and gross” scenario.
- The full DIY jar ecosphere timelapse is embedded below, so you can watch the miniature world evolve.
- Perfect as a relaxing desk decoration, science project, or just an excuse to poke around in a river like a kid again.
Ever wondered how to build a self-sustaining ecosystem in a jar? I built a tiny closed world in a glass jar and filmed the whole thing as a timelapse. With just a few scoops of sand, some stones, plants and water from a river, you can make a miniature world that keeps itself running for months. Below is my step-by-step guide to making a DIY jar ecosphere, the full timelapse, and some tips so your tiny world doesn’t turn into a swampy horror movie after a week.
DIY jar ecosphere timelapse (video)
If you just want to watch the magic first, here’s the complete timelapse of my ecosphere in a jar:
How to make a DIY ecosphere in a jar (step by step)
Creating your own ecosphere is easier than it looks. The trick is to bring home a small slice of a functioning ecosystem and then not mess it up too much. Here’s exactly what I did.
Step 1: gather materials from a river or pond
I built this DIY jar ecosphere from materials collected at a slow-moving river. You can do the same with a clean pond or lake. Here’s what to bring home:
- Sand / fine sediment — forms the base layer and holds nutrients.
- Small stones & wood pieces — create structure and hiding spots for tiny critters.
- Aquatic plants — produce oxygen and help keep the system stable.
- Water from the same place — full of microorganisms, algae, tiny snails and other life.
- A clear glass jar with lid — ideally with a wide mouth so you can arrange things inside.
Step 2: build the ecosphere layers
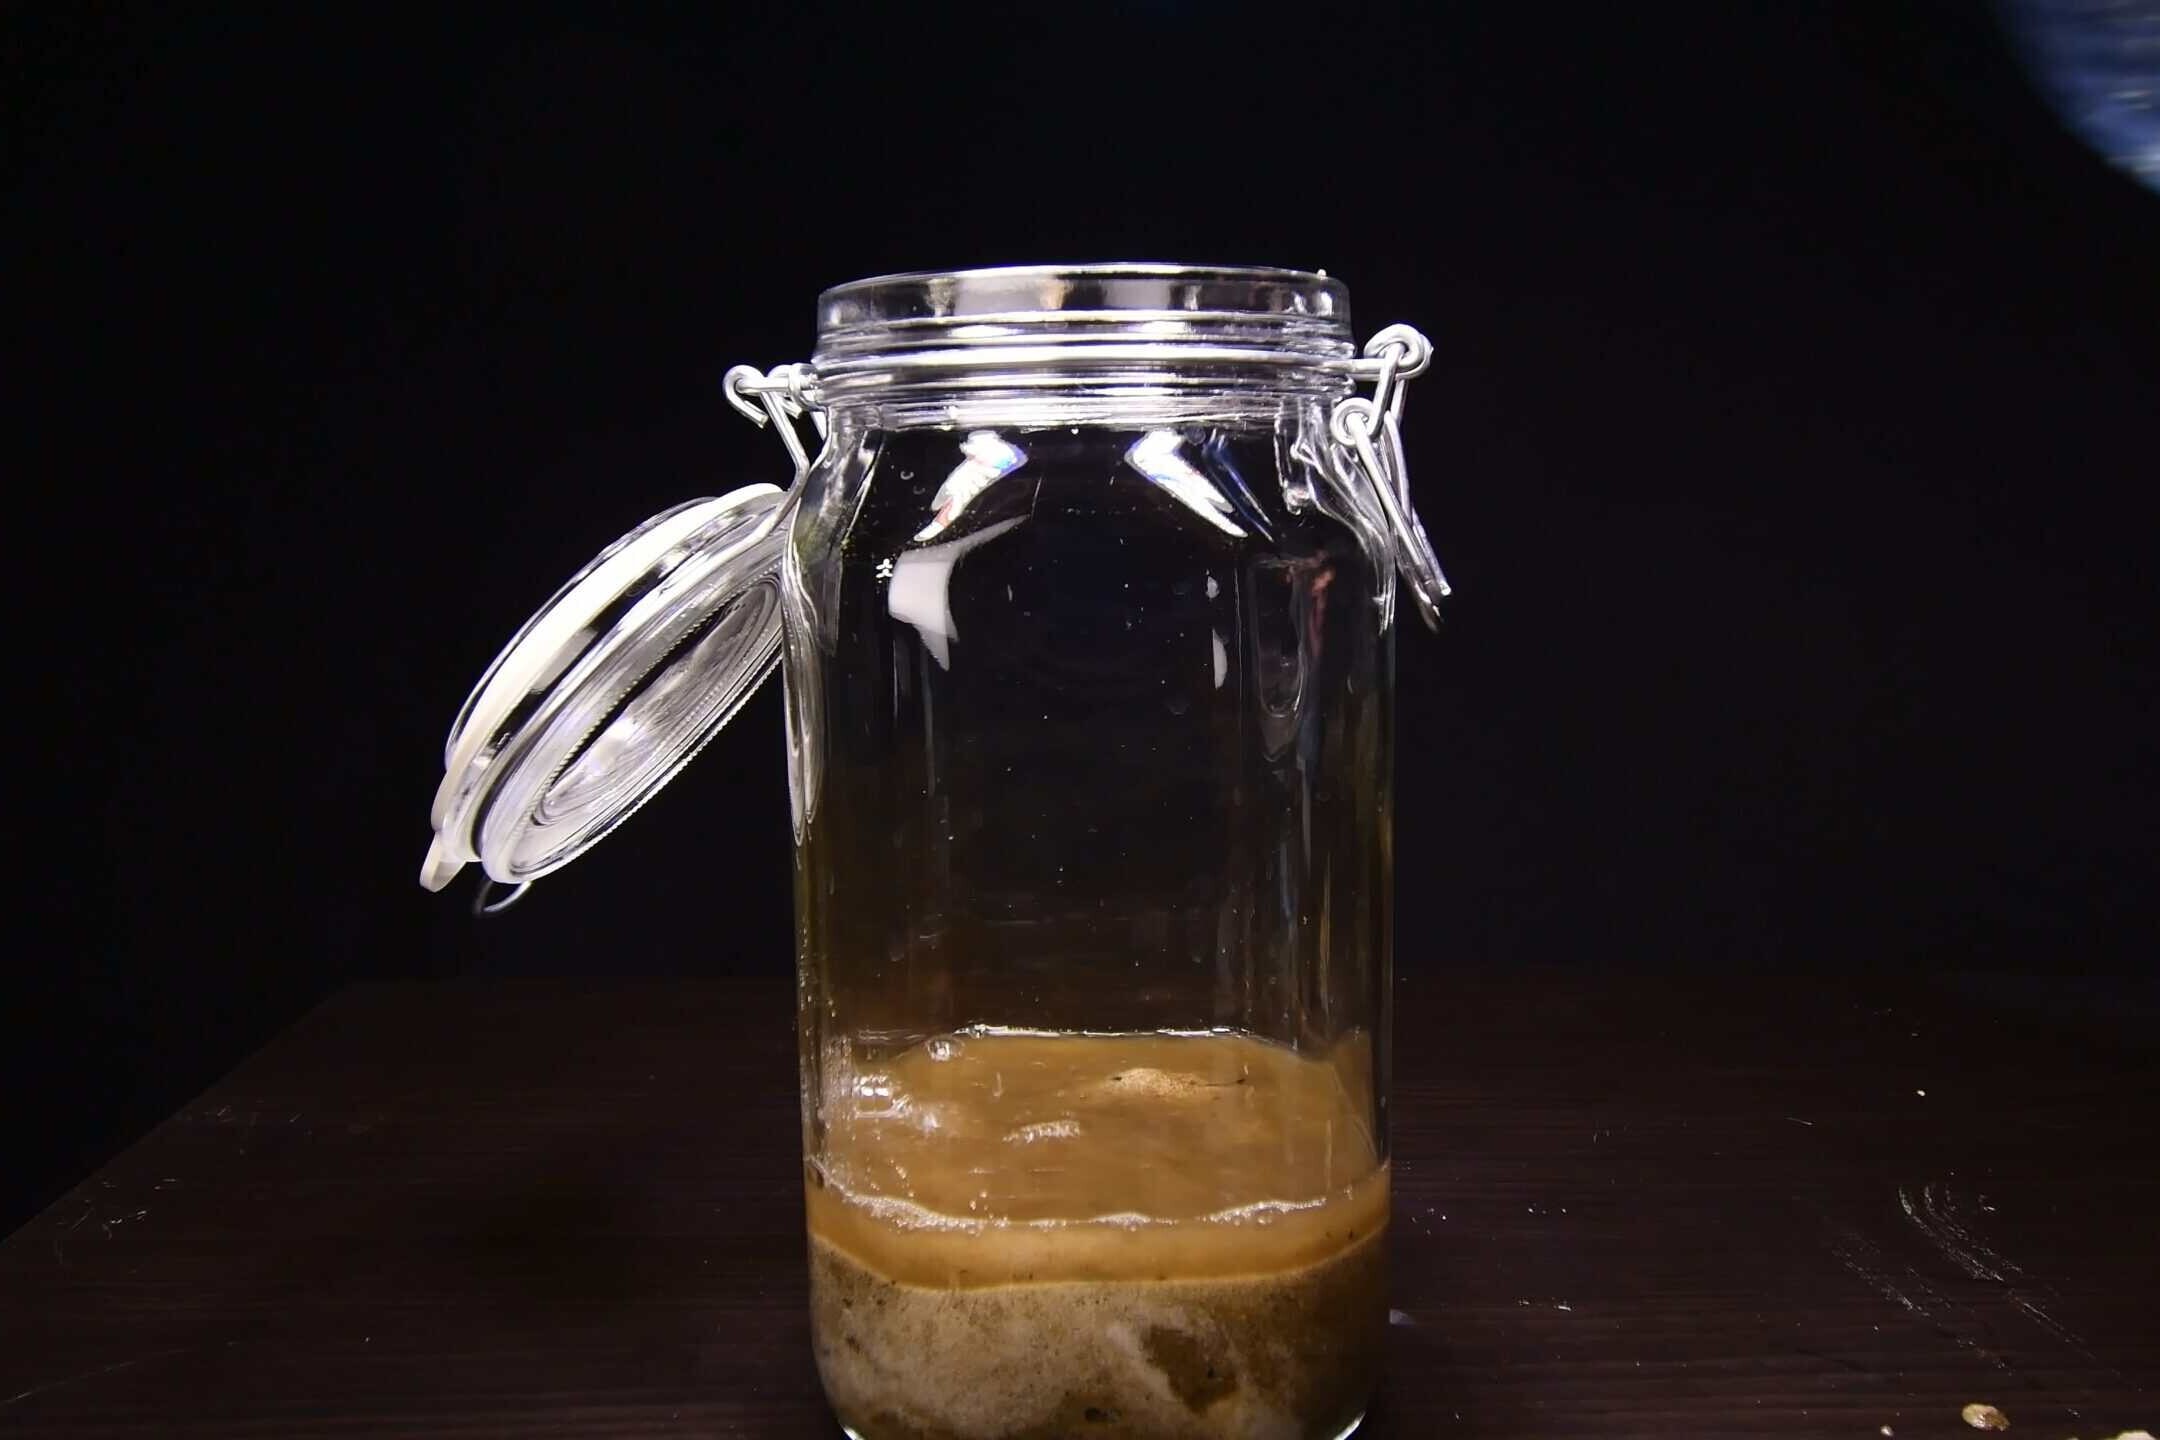
Back home, it’s time to turn your muddy loot into a tiny underwater world. Start by adding the river water that settles your base — pour it in slowly so the sand doesn’t cloud up too much.
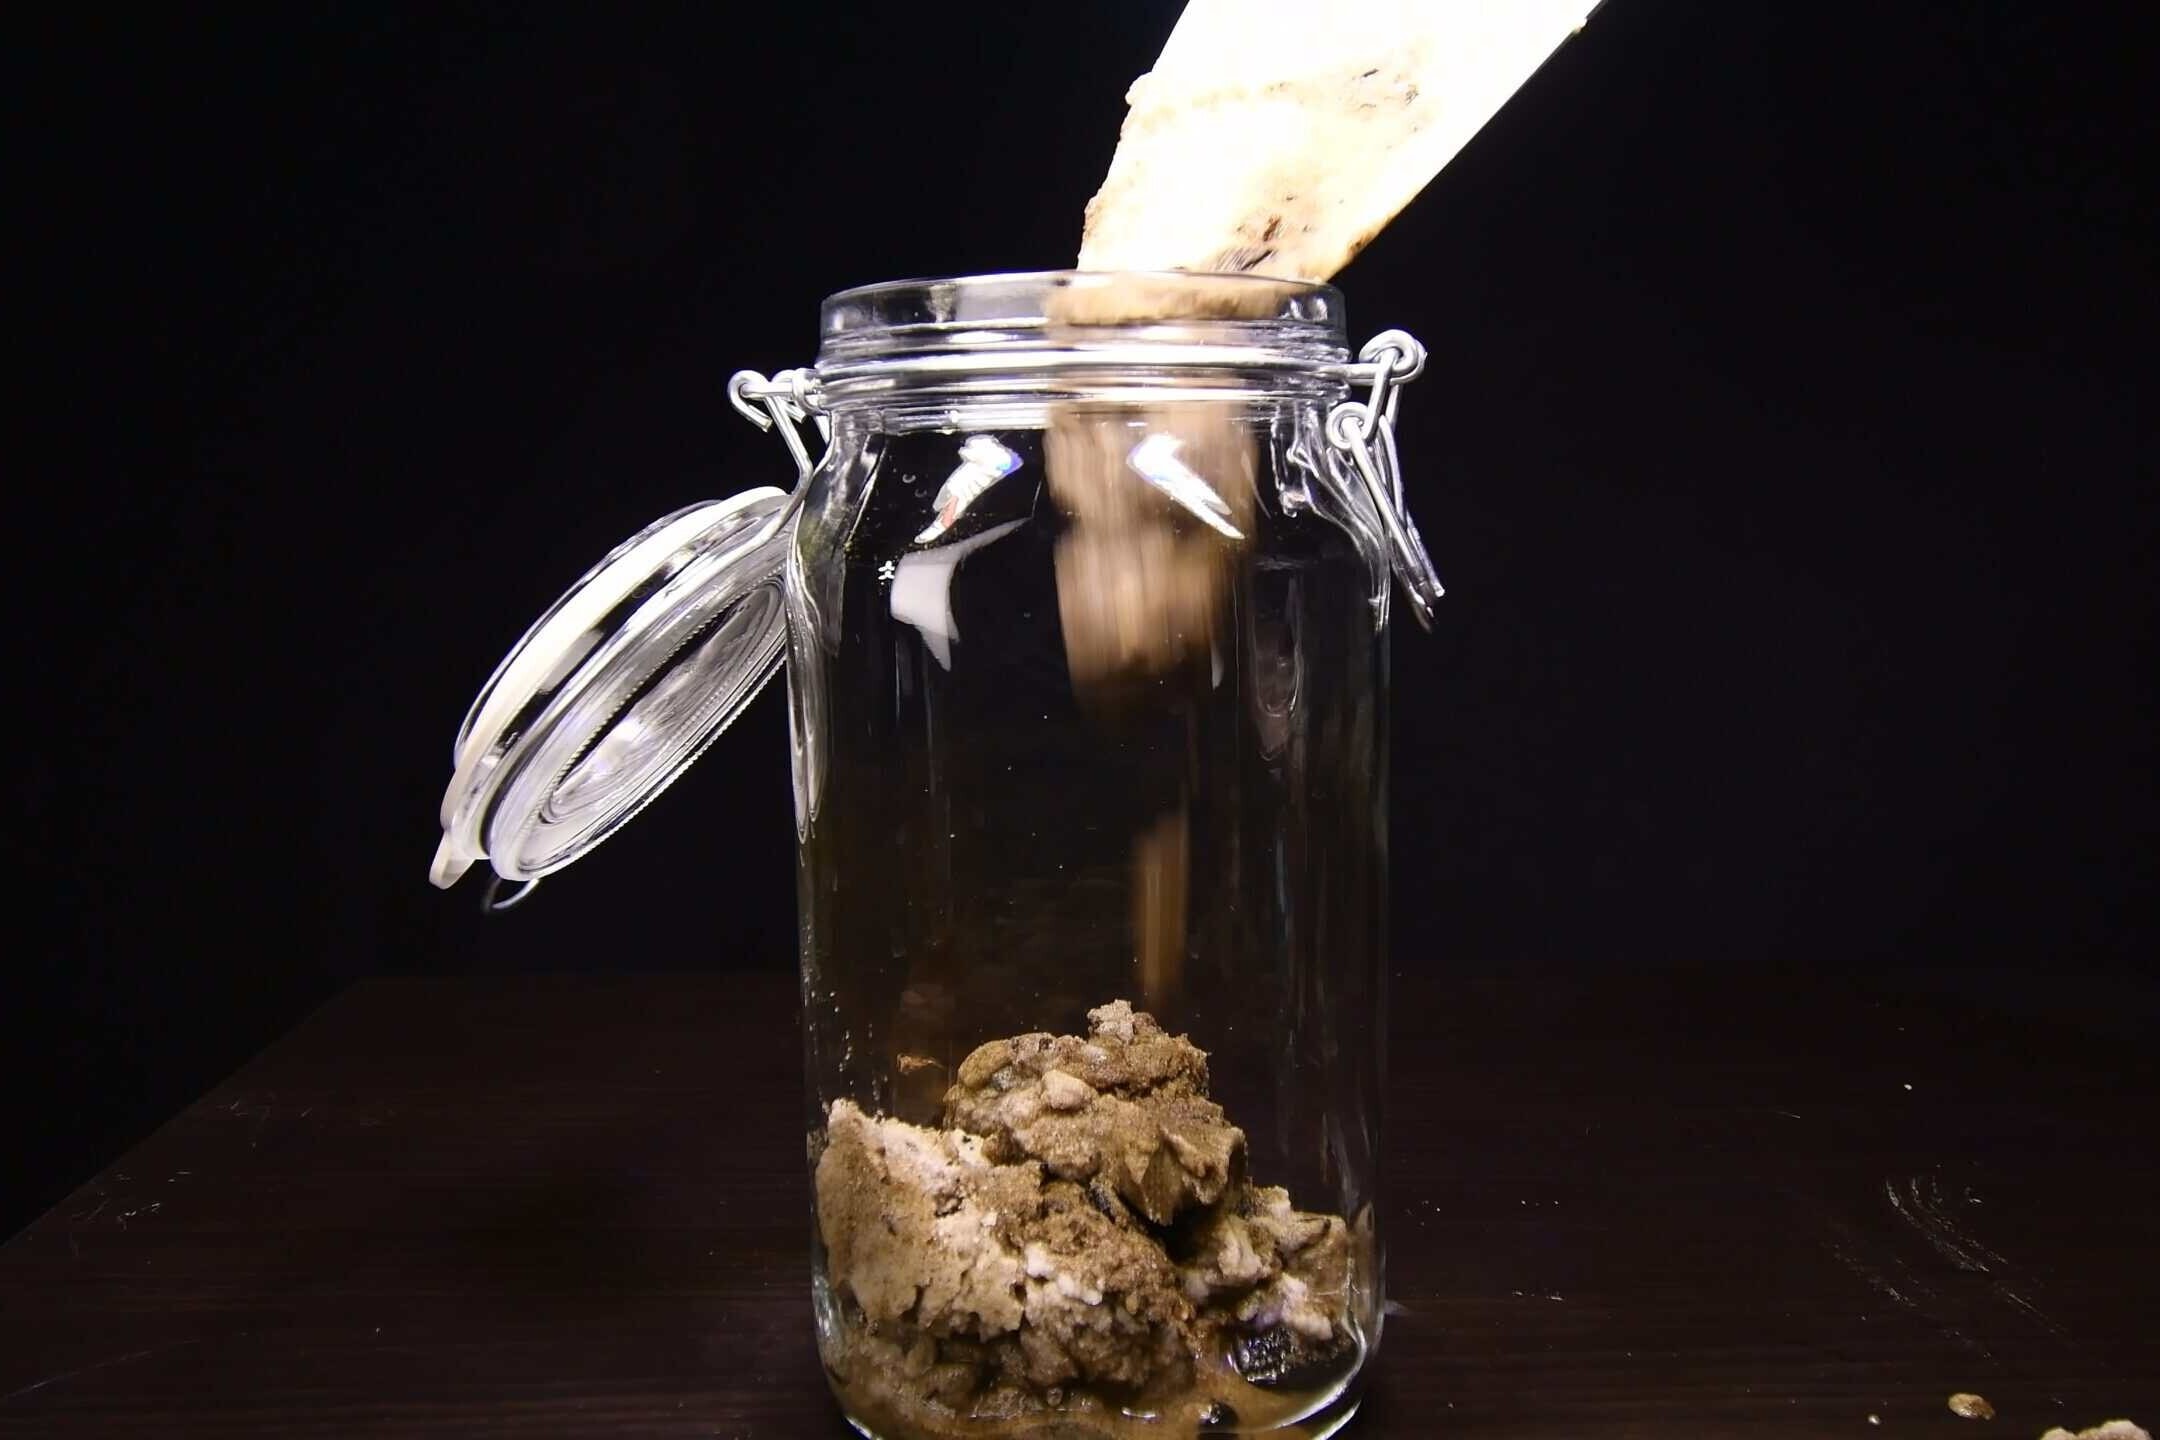
- Sand layer: add a layer of river sand or fine sediment to the bottom of the jar. This is your substrate, where bacteria and plant roots will live.
- First water: pour in a bit of river water to settle the sand. It will look cloudy at first — that’s normal and clears within a day or two.
Next comes the fun part: arranging the hardscape. Place your stones and wood like you’re designing a tiny landscape.
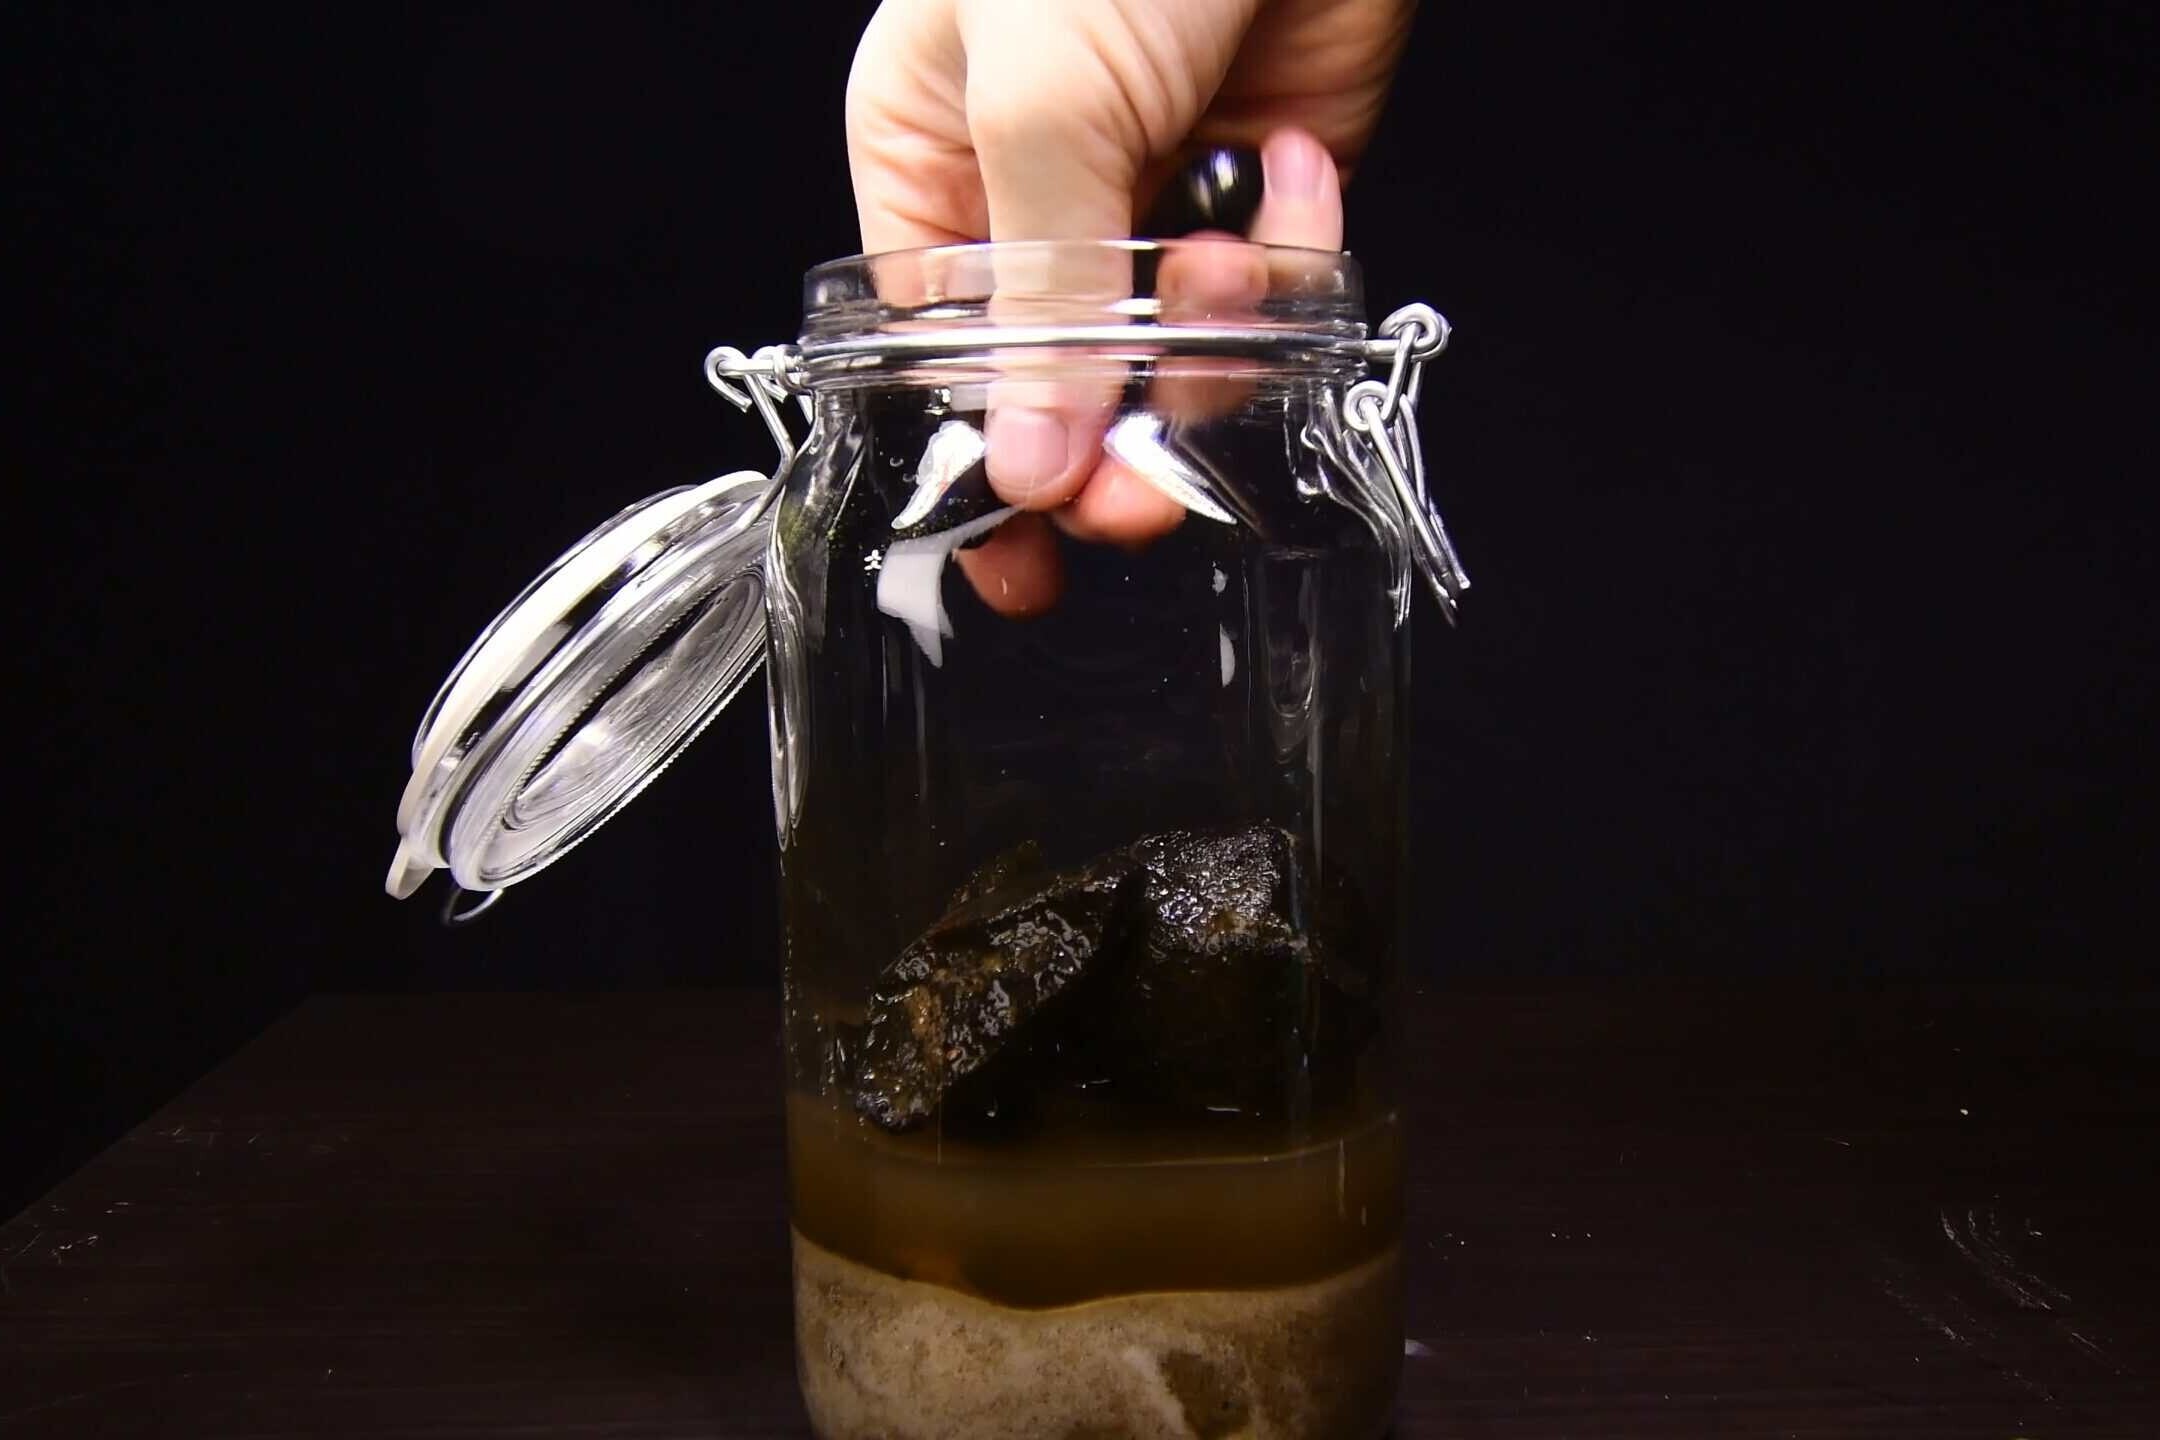
- Arrange stones & wood: place small stones and wood pieces on top of the sand. Think of it as aquascaping — you’re designing a tiny landscape that looks good from the outside and gives surfaces for algae and microbes to grow on.
With the landscape set, tuck your aquatic plants in between the stones — these will become the oxygen engine of the whole jar.
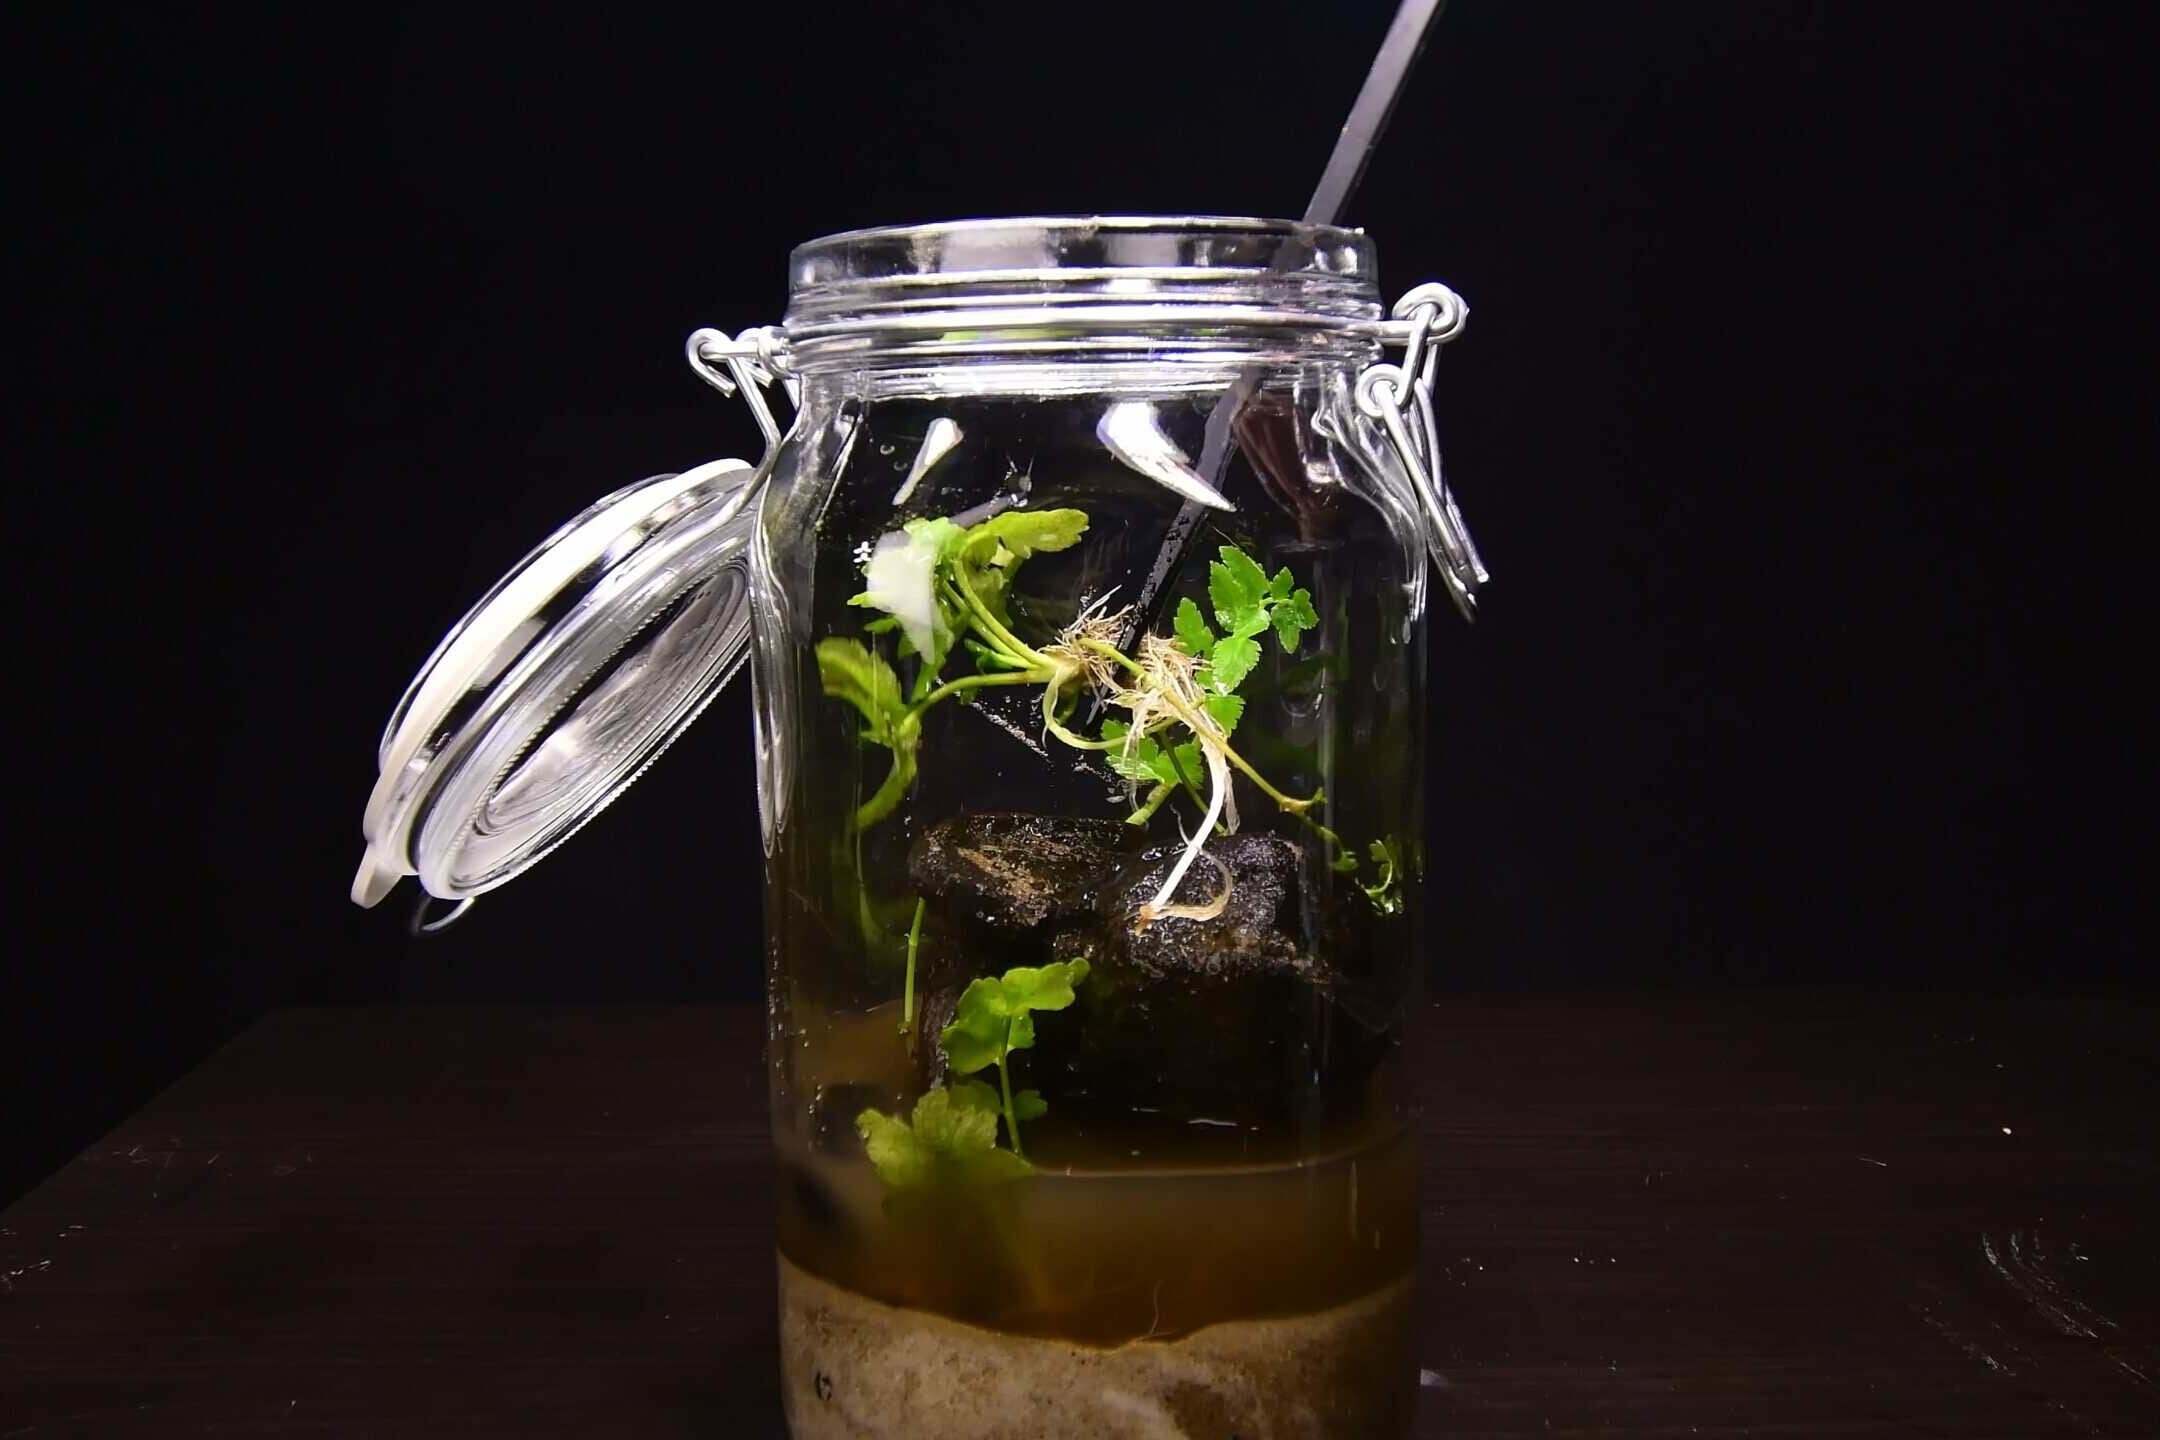
- Add plants: gently push the river plants into the sand between the stones. Try to keep the roots covered while the leaves stay upright. These plants will be the main oxygen factory in your ecosphere.
Finally, top the jar up with the rest of your river water, leaving a little air gap at the top.
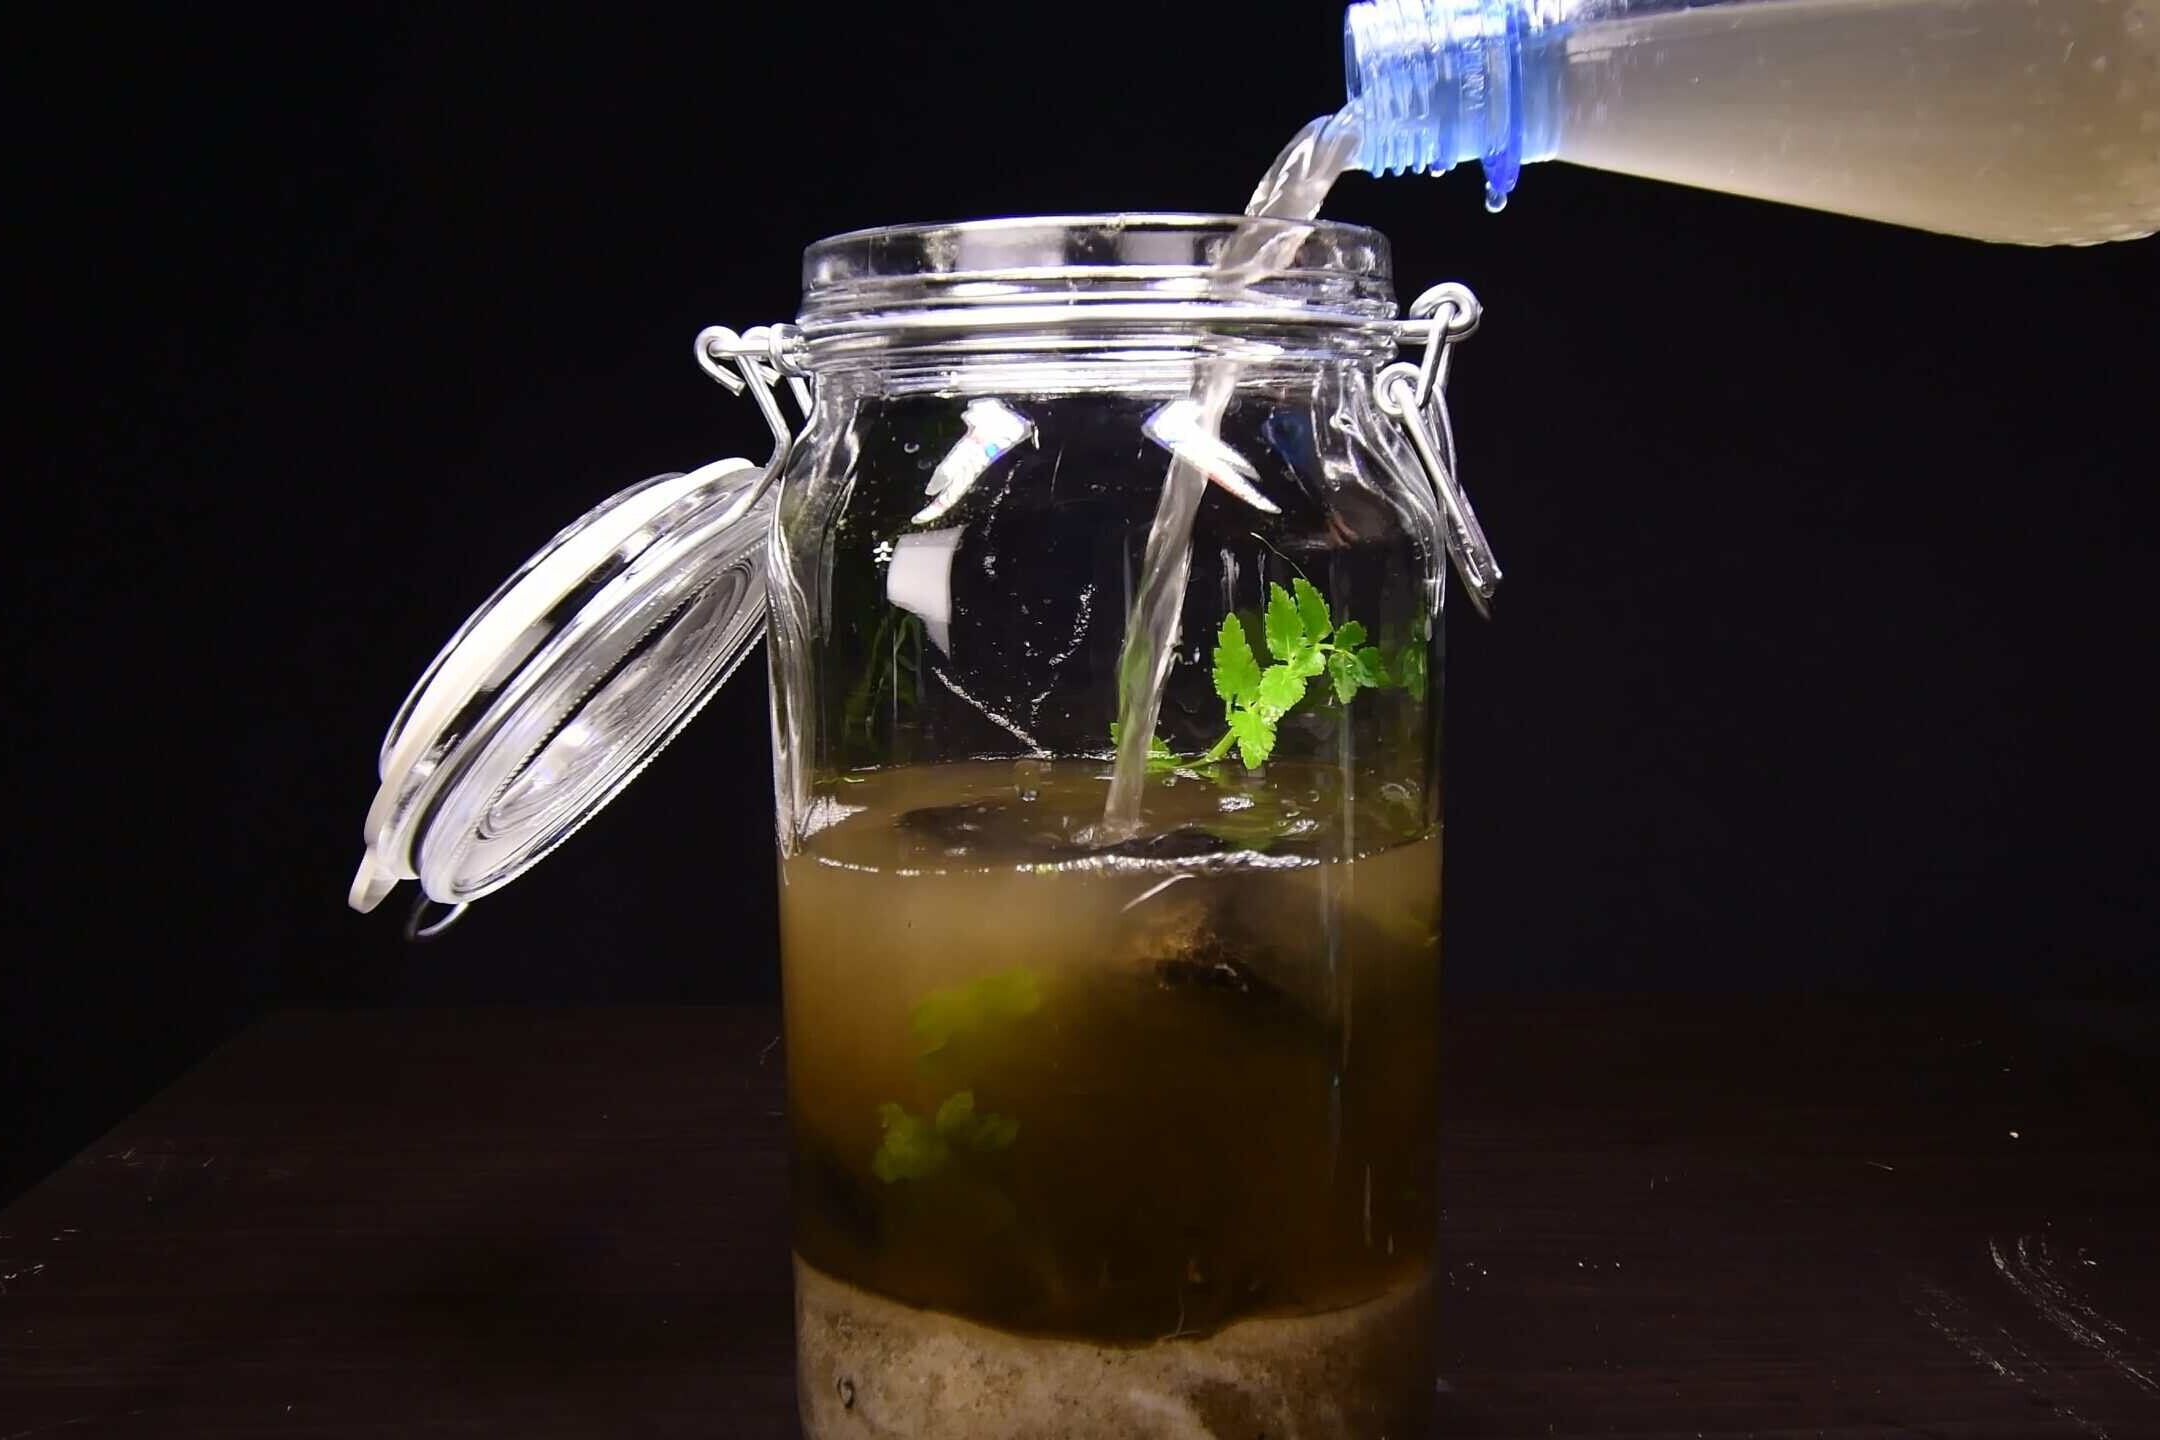
- Fill with water: slowly fill the jar with the rest of your river water. Pour carefully so you don’t disturb your layout too much. Leave a small air pocket at the top — that’s your gas exchange zone.
Step 3: seal the jar and let the ecosystem run
- Seal it: once you’re happy with the look, close the lid tightly. From now on, no more water in, no more water out — the ecosphere recycles its own moisture through evaporation and condensation.
- Place it: put the jar in a bright spot with indirect light. Direct, harsh sun can overheat the glass and cook your tiny world.
- Observe: over the next days and weeks, you’ll see algae appearing, plants adjusting, and maybe tiny critters cruising around. This is where the project becomes dangerously addictive.
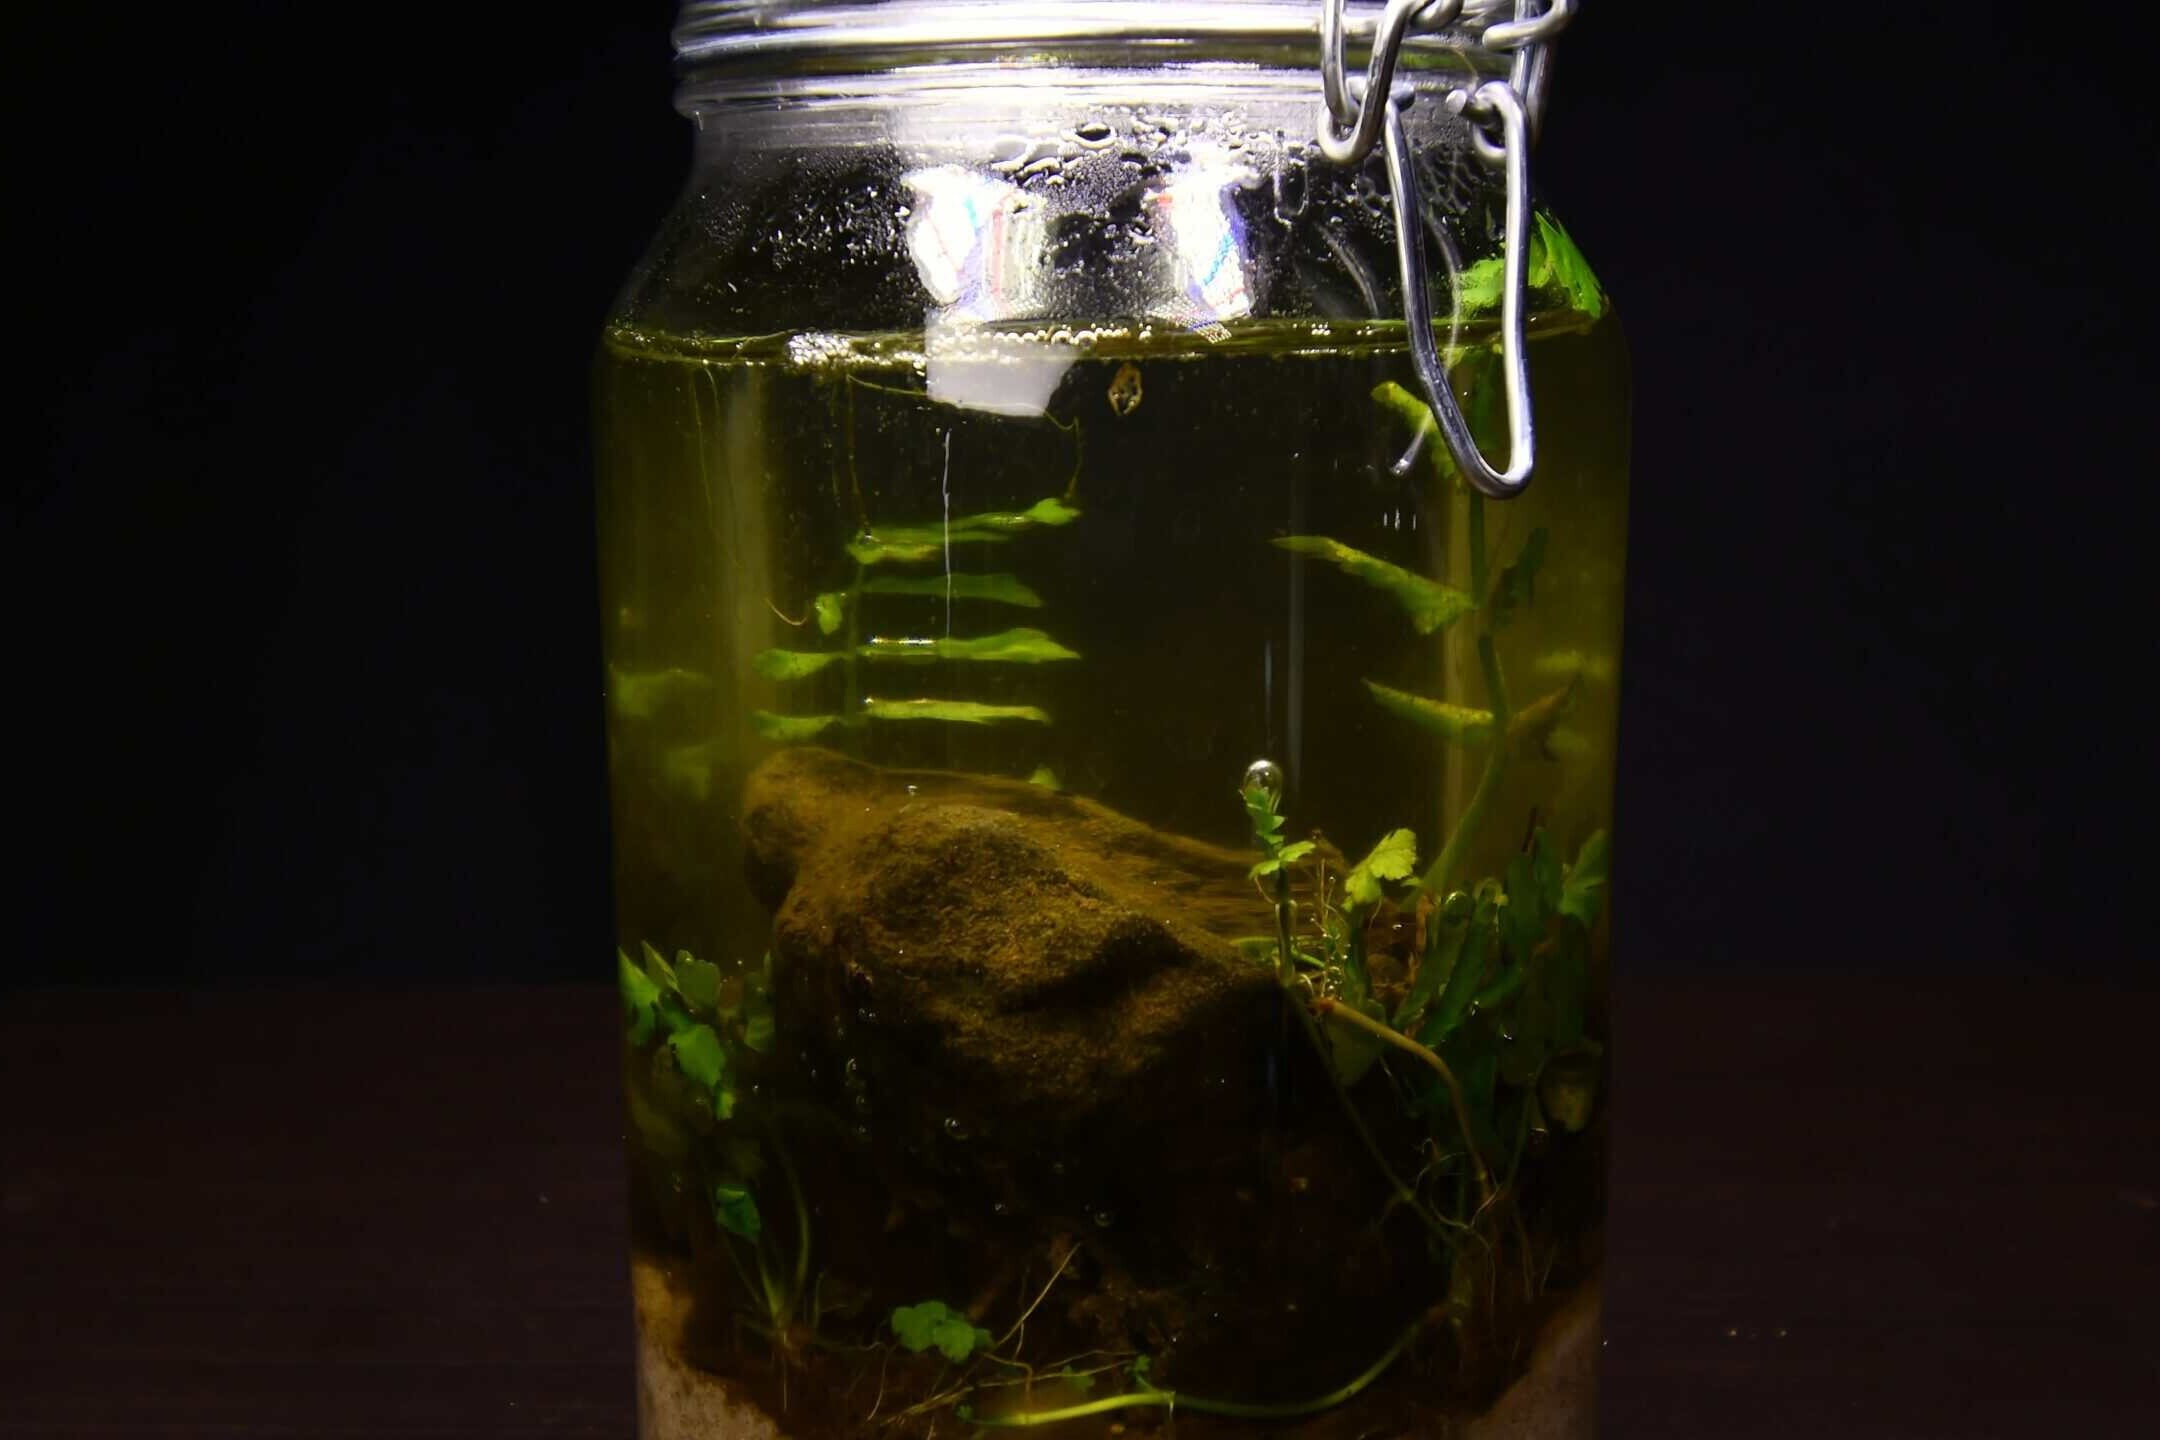
Ideal conditions for a healthy jar ecosphere
Once your DIY ecosphere is sealed, the goal is to leave it alone as much as possible and let nature do its thing. A few parameters still matter though:
- Substrate: nutrient-rich river mud or sand provides a home for bacteria and plant roots. Avoid sterile, washed sand only — you actually want some life and organic matter in there.
- Temperature: keep it stable at 18–25°C (64–77°F). Too cold and everything slows down; too hot and things can crash quickly.
- Watering: in a properly sealed ecosphere, you never water again. The water cycles as it evaporates, condenses on the glass, and drips back down.
- Light: bright, indirect light is perfect. A few hours near a window is usually enough. Direct sun through glass can overheat the jar and trigger massive algae blooms.
Turning your ecosphere into a timelapse project
Because the changes in an ecosphere are slow, it’s the perfect subject for a plant timelapse. Set up a camera on a tripod, take one picture every few minutes or hours, and watch days of tiny ecosystem drama unfold in seconds. If you want a full walkthrough on how I shoot plant timelapses — camera setup, interval settings, editing in DaVinci Resolve — see my guide on how to make a plant timelapse and my plant timelapse setup guide.
Frequently asked questions
Using water and material from the same place gives you a complete little ecosystem with the right microbes and nutrients. Tap water plus store-bought plants can also work, but it’s more hit or miss.
A bit of algae and detritus is normal. But if everything is dark brown, smells bad and no green is left, the balance was off (too much organic material, not enough plants, or too much heat). Treat it as a learning experiment and build a new one with less mud and more plants.
Ideally, no. The fun of a jar ecosphere is that it’s a closed system. If you constantly open it, you’re basically running a small aquarium without a filter.
Some jar ecosystems stay stable for many months or even years. Others crash after a few weeks. That’s part of the experiment — each jar is its own little world.
Want to read more?
For more on closed ecosystems and bottle gardens, see the RHS terrarium guide.
If you enjoyed this DIY jar ecosphere, you might also like
- Growing a chestnut jungle — another tiny world in a container.
- How to make a plant timelapse — camera setup and editing for plant & ecosphere projects.